
As you cruise through your life as a budding musician you might get to the point where you have to make an audition video. I’ve had to make several of these. And nothing sounds worse than recording a video where you record the audio through the air. Ugh. This goes double if you’re a bass player. It’s already hard enough to balance out the levels and stand out as a bass player. Recording a video where the audio is recorded through the air won’t do you any justice.
Here’s what I use to record my audio, video, and how to edit everything to not only look nice but to sound great.
Alright, so, let me give you a bit of history here that you probably don’t give two shits about. I’ve been using Cubase as my digital audio workstation (DAW) for years now. It can import video so I can score movies and synch up certain events to the action on the screen. However, Cubase can’t export .ac3 files. AC3 is the type of 5.1 surround sound format that my planetarium uses. So, in order to convert certain things to .ac3 I got Sony Vegas.
Sony Vegas is a decent program to edit video and audio. It allows you to have multiple camera angles, multiple audio tracks, and comes with some nifty features. In fact, there are some features that are so synonymous with Vegas that when I see a low budge horror movie I can usually tell when it’s been edited with Vegas.
So, I use Cubase to do all my heavy lifting in the audio department and I use Sony Vegas for all my video editing needs. They’ve both served me well over the years.
But then I got to the point where I had to shoot my own audition videos. A couple of years ago I got interested in the possibility of trying out for Cirque Du Soleil. Going through their website I learned I had to film around 7 videos to submit to their FTP site. They supplied two tracks per song: one track was the reference track with the bass recording, the second track had no bass and was the track I was to use to do my audition. This was called a kit and the kit included all the songs they wanted me to learn (with both reference and backing track) and a score for each song.
Now, what comes next is something I’ve discussed in the past: thinking ahead of everyone else. I was interested to see what other people were using and doing in their audition videos. So I went on YouTube and, sure enough, there were a lot of audition videos to choose from. Most of them were pretty much the same: musician in front of a camcorder playing the song in bad lighting and with bad sound.
So I decided that I was going to invest some money in myself. I bought a nice camera in the Sony HDR-CX550. I bought a Sony camera because I figured that whatever default format it shot in could easily be dragged into my Sony Vegas project. I was right.
I also bought some extra lights. Lighting, when it comes to shooting video, is crucial.
So now I have the components to get my audition project going.
I’ve got the material I need to learn; I’ve got decent gear to record with; I’ve got a good way to record clean audio (Cubase); I’ve got a decent camera that will make good looking video, and I have a software program to tie everything together with Sony Vegas.
I just want to say at this point that I’ll explain what I do and then I’ll give an easier example later. I realize that not everyone is going to have the same type of gear that I have. I know that some people will only have a camera and nothing else. I’ll go over that. For the first part of this I’m just going to cover what I do to record my audition videos.
So here’s what I do to film an audition video.
Part 1: Preparing the Audio
So, like I said, when I’ve done an audition video I’ve been supplied a backing track. The backing track will play as I record my bass track. And it’s this performance that will be judged. That’s why I record direct and I don’t use the audio from the camcorder. Camcorders don’t really have the best sound for bass. I use Cubase for my audio needs so what I do is I have the backing track as one track and I arm a second track to record my bass.
Before I record bass I’ll record a loud, yet short, beep or a click BEFORE the start of the backing track. This beep will be used later to synch up the video and audio. You know those scenes in the “making of” a movie where the guy stands in front of the camera with the black  clacking place card and yells “Scene 1 Take 2…CLACK.” That’s what the beep is for. When I record my performance on video the camcorder will not only pick up my live performance, the backing track audio, but also that loud beep I added before the track. Even though I’m recording my audio performance live into the machine, the camcorder is recording the audio performance through the air – from my speakers and into the camcorder. So the camera will pick up the beep as well.
That little beep will allow you to later mute the audio that was recorded into the camera so you can substitute the much cleaner direct recording signal.
Part 2: The Video
Okay, so now I’ve got my backing track, my beep to synch, and my live bass track armed to record in Cubase. I have my cameras set up in the positions I want them. I hit record on the cameras first so they all are recording. I then hit record on Cubase and away we go.
The audio plays through my studio speakers and all the cameras pick up that loud BEEP noise as well as my live performance. Hey, if you mess up just start over. As long as you get that beep in there you can cut out all the bad takes that happened before later on in the editing phase. Just keep playing the song over and over until you get that one great master shot where you play through the song perfectly.
Alright, did you just play through the song and nail it? Great, you’ve got the master shot. Congrats. When I’ve got that great take I stop recording on the DAW and I hit stop on all the cameras.
Part 3: Editing
After the audio is recorded I listen back to see if I need to record it again. If it all sounds good and I’m happy with my performance I then adjust the overall volume level of my bass performance. I want it to be loud enough so that they can hear every nuance of what I’m doing but not so loud that it over powers the backing track or distorts. I’ll mix down a version of the audio and listen to it on my home theater, in my car, and on my computer. I want to make sure that my recorded performance sounds good on whatever device it’s played on.
When I’m happy with that mix down I’ll create a folder on my computer with my new project name and the song I just recorded. It’s in this folder that all the video I recorded, all the audio I recorded, and any photoshopped header or footer I created will be stored.
I import my video tracks to this same folder.
Basically you should have one folder that contains all the material for your video editing project: all the video, the audio, any pictures you want to add, any extra intro material – all that jazz.
Now I fire up Sony Vegas and I start a new project.
When I start up Vegas I make sure that the video settings on the project matches the video I just shot. I’ve been filming in 720p (DVD quality) lately because it’s easier to edit and I know that when I upload it to sites they likely won’t be watching on any blu-ray type of viewing device. DVD quality is fine to watch and the rendering process takes less time.
So make sure your video editing software’s project settings match what you just filmed. Also make sure the audio settings are correct. If you recorded in 16 bit on Cubase you’ll want to make sure the audio setting in Vegas is also 16 bit. If the audio settings are off then the video and audio won’t quite look right. Also, make sure your frame rates match. If you shot at 30fps then make sure the project settings are the same and not 24fps. Believe me, all this stuff matters. I’ve learned the hard way.
Alright, so before you start importing audio and video you should’ve set up your Vegas project to not only reflect the video you recorded but the audio settings are the same as well.
So the first thing I do is drag in my audio file – what I recorded in Cubase. This is the audio that has the beep before the performance.
Once that’s in I drag in my first video file. The video file will naturally be longer than the audio file because you hit record on the camcorder FIRST. That’s why you need to use the beep to synch the two up.
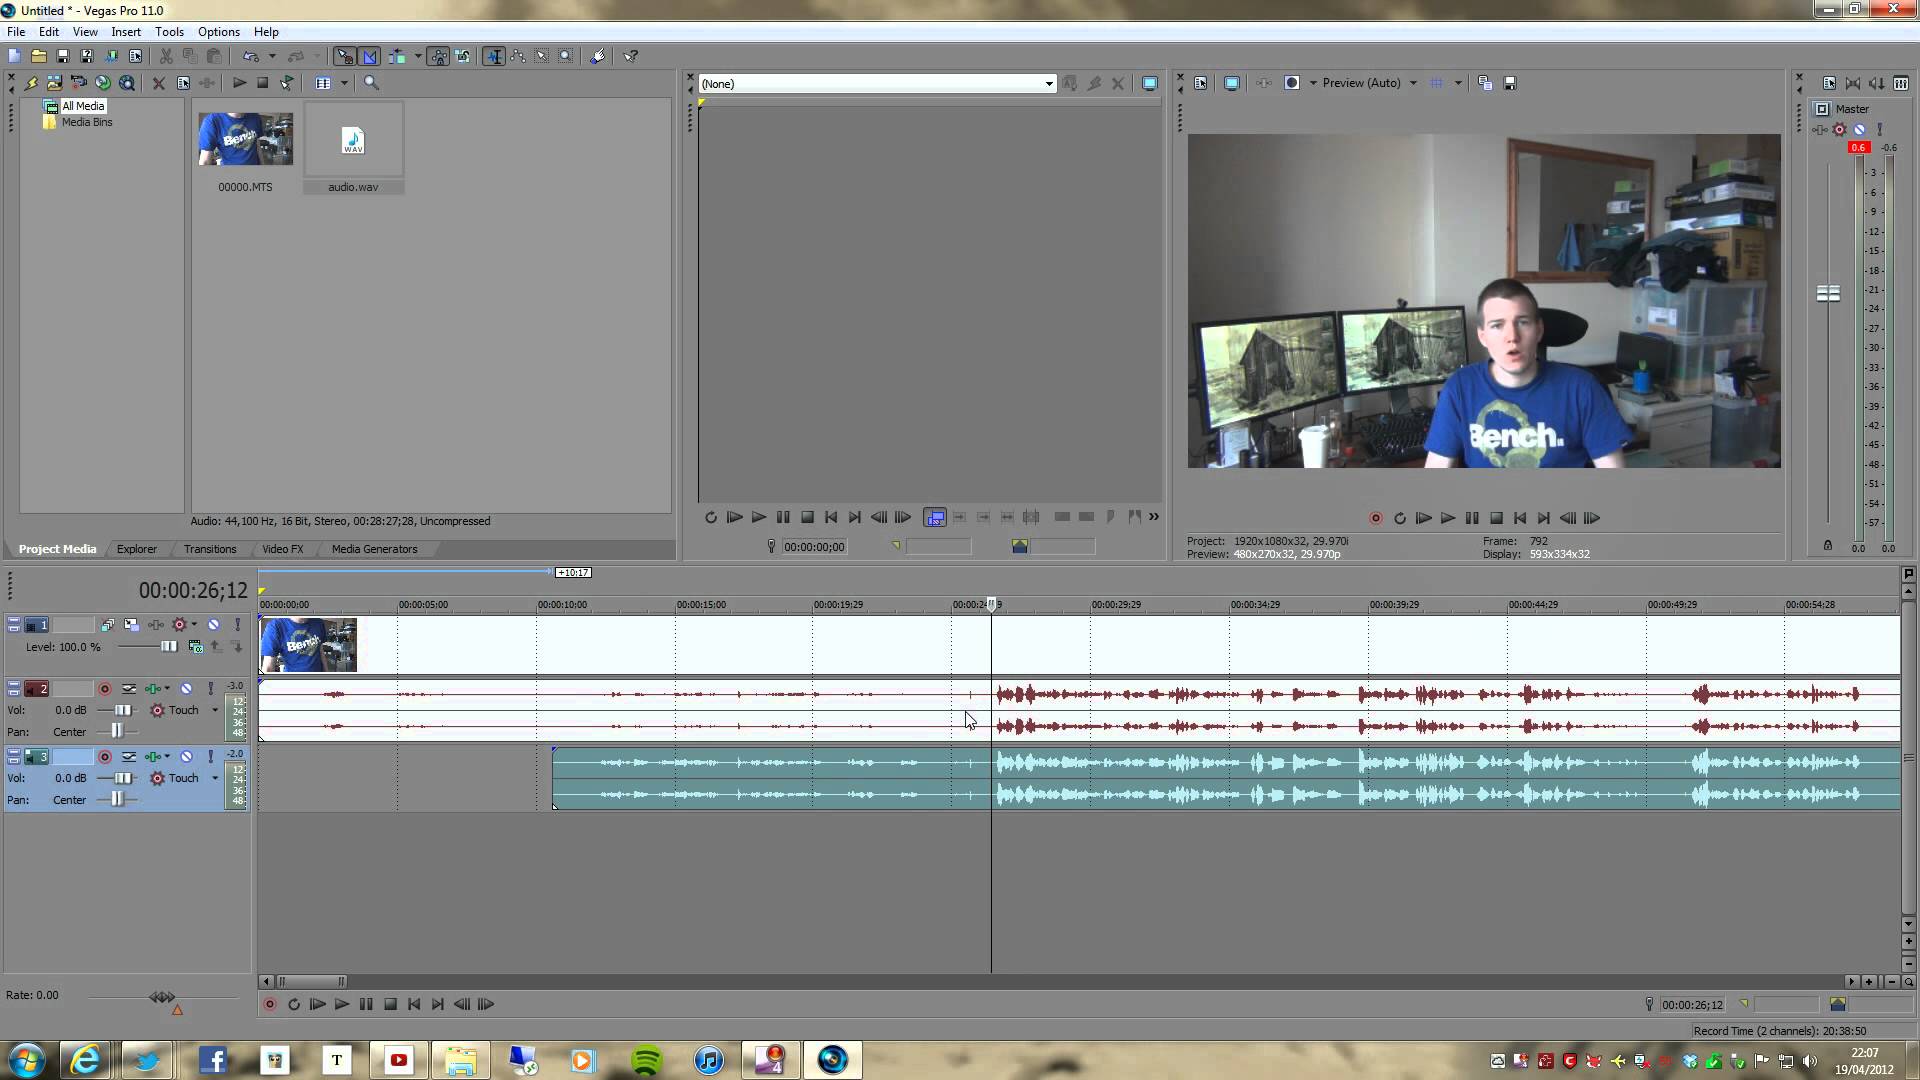 You’ll see in this picture that a guy is working in Vegas and has sync’d up his video audio and his recorded audio. The top track is the video track. The track underneath that is the audio recorded from the video. The track underneath that in the greenish color is the new audio track. See how the wave forms match up? That’s what you want to do.
Once the .wav that I recorded in Cubase lines up with the wave form I recorded on the camcorder I mute the camcorders audio channel (track 2 in the above pic) and I play just the video and the Cubase audio. It should line up perfectly: every slide I do, every harmonic I hit, every little thing I did to make the audio sound the way it does should be reflected back at me in video form. This is what you’re going for. Not a doctored video but a clear looking and clean sounding audio/video performance.
Now I do the same for the remaining video I shot.
Part 4: Adding extra stuff.
This whole process has been a big learning curve for me since I started doing video projects years ago. I’ve since learned how to do split-screen things, multi-angle shots at the same time, effects, video transitions, and I’ve been using headers and footers as well.
A header and footer is like a card before the video that has your info on it. That way people will know who you are and how to get in touch with you.I won’t get into the whole area of editing multi-angle stuff though. That can be pretty complicated to discuss.
I mean, in brief, every video project should have a master video 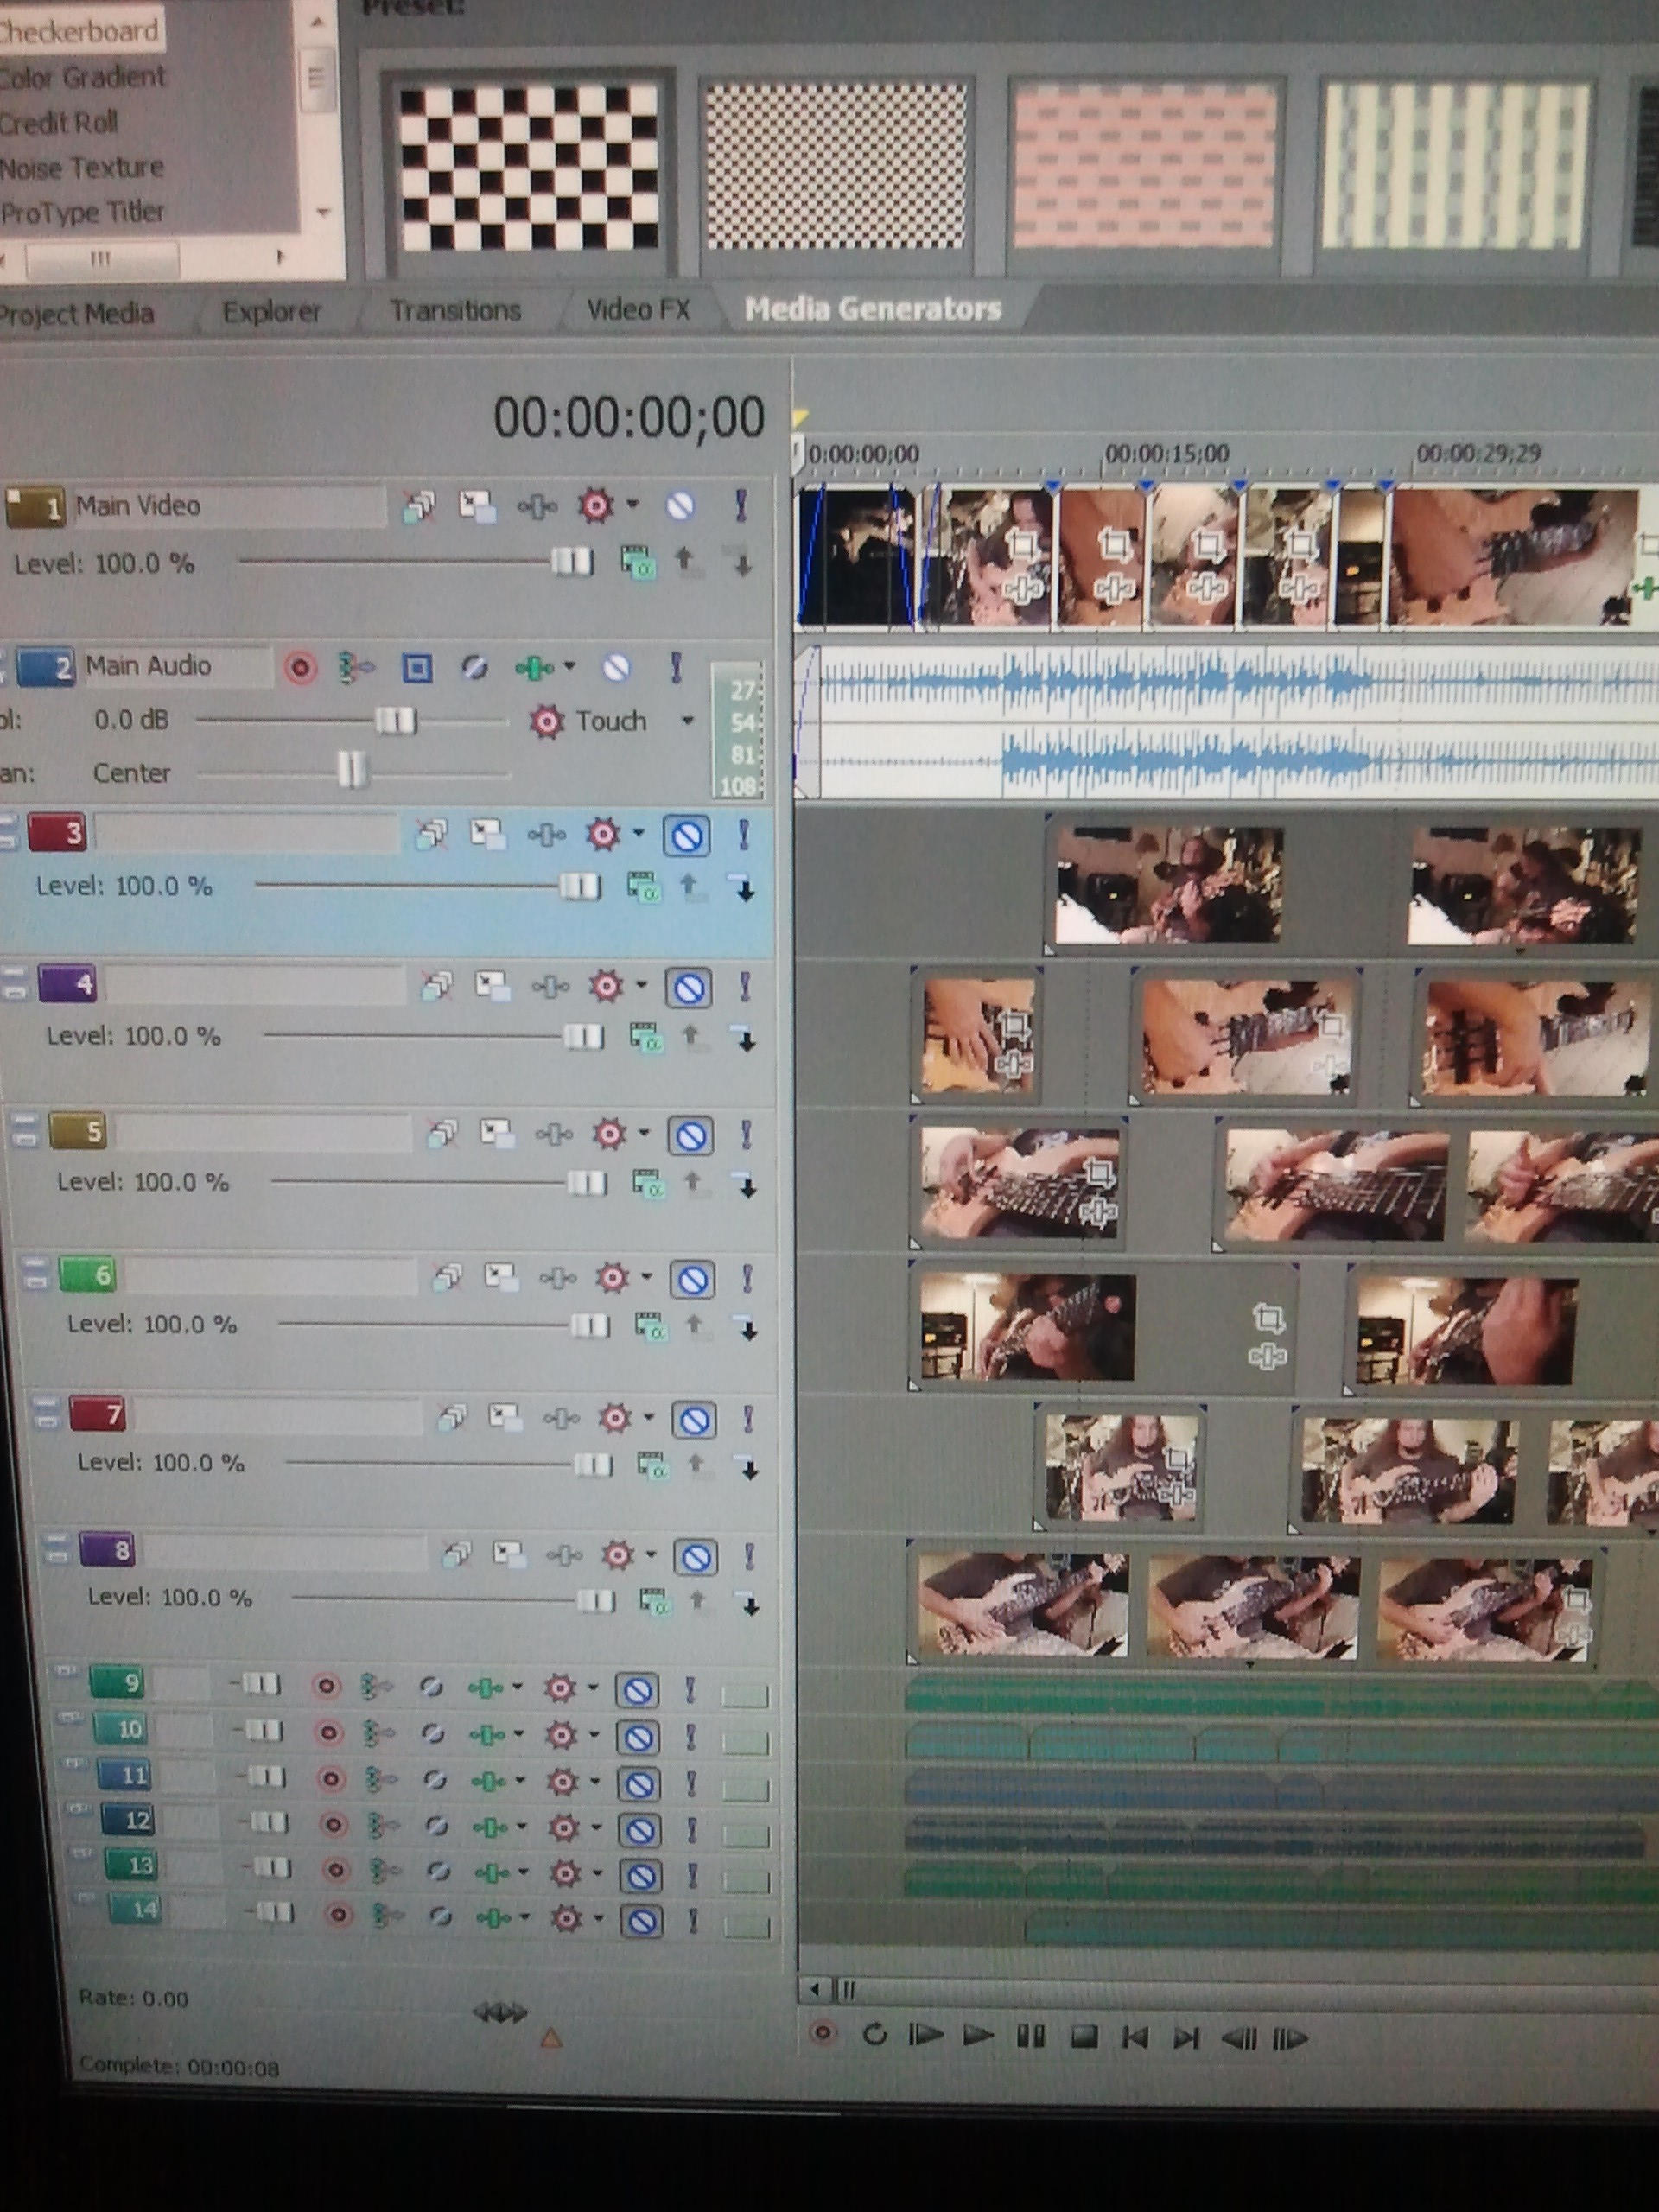 track. This master track is the track that has your main video on it. Any video track below that track acts like a “child” track and will actually play behind the master video track. Because of this you can do split screens and all that stuff. That’s what I do.
But then you get into adjusting track motion, and video size, and it’s just a lot to discuss. For the basics you can just have one main video track and you can splice together as many different angles as you want on that track.
Since you’ve synced up all your video and audio it’s pretty simple to cut one piece of video from 1:00 to 1:30 and move it up to the master video track, then cut a piece of video from 1:30 to 2:00 and move it up after that. This makes it look like a TV show move from scene to scene or 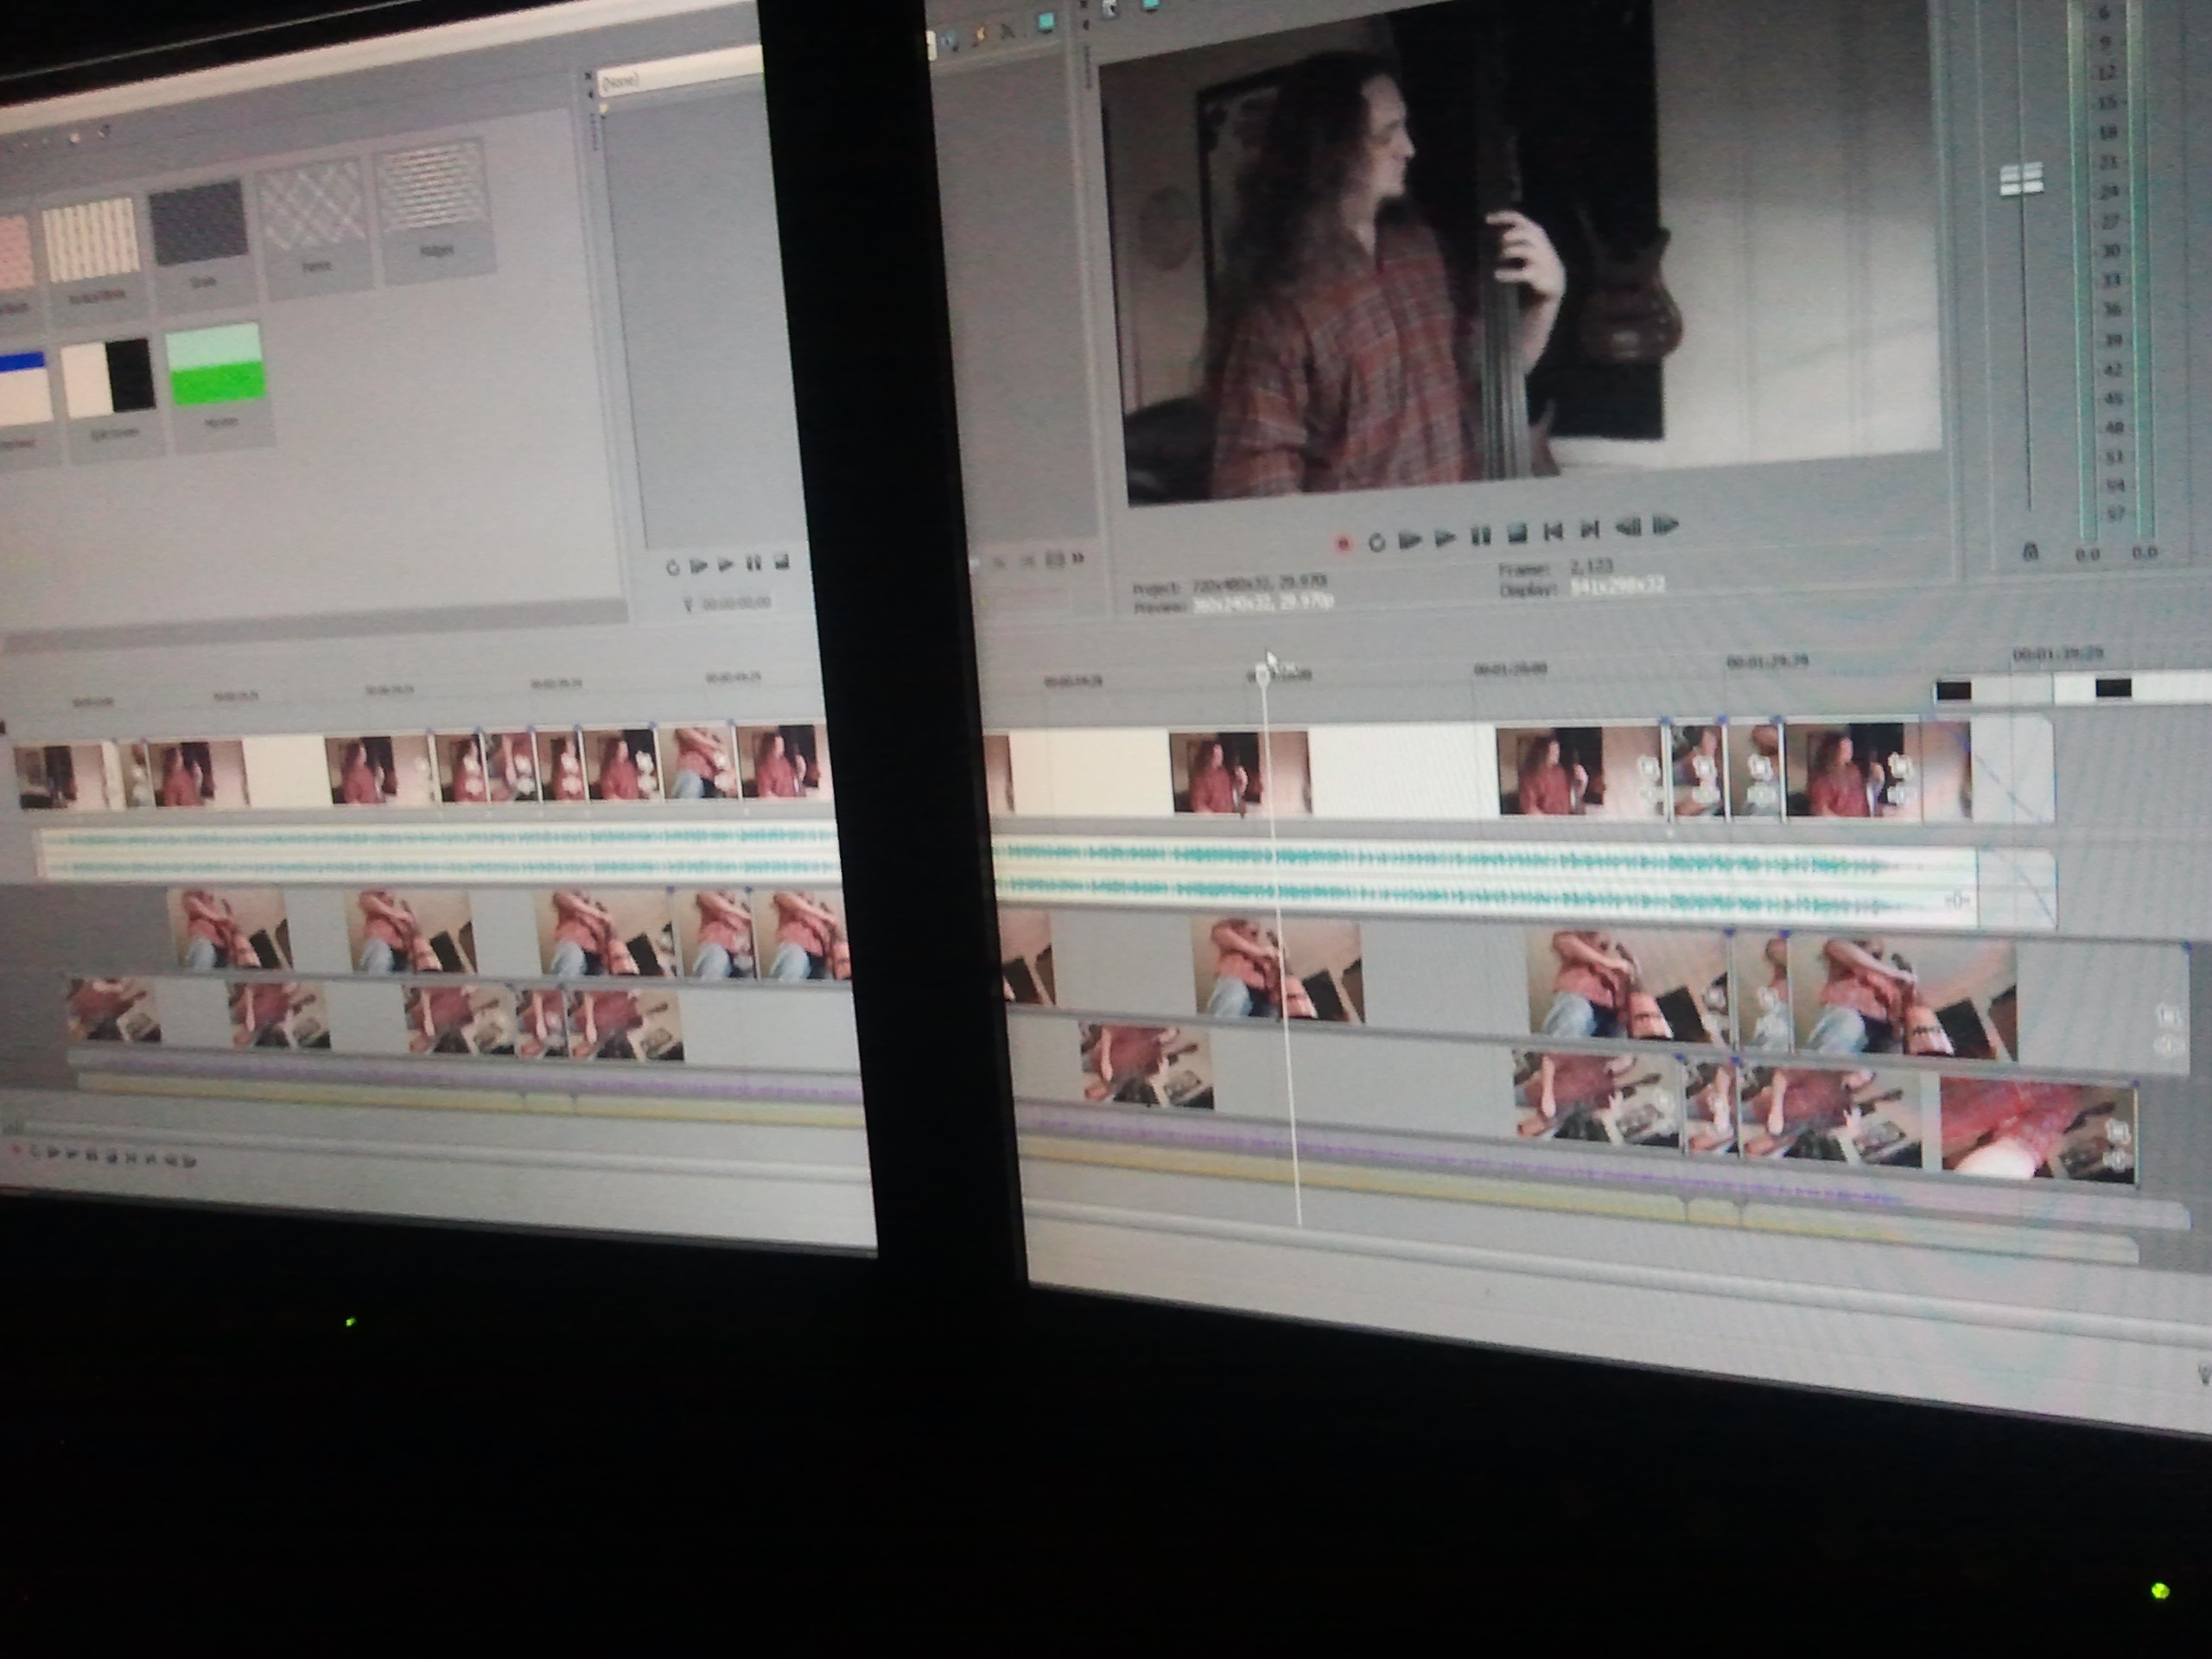 Camera 1 to Camera 2.
You’ll see in the picture to the let that my track 1 is my main master video track. The main audio track is beneath that as track 2. Then there are other angles I’ve shot below that track. As I edit I cut out scenes from those angles and pull them up in to the main time line. All the video is already synched up so it looks like one long scene going between cameras.
Here’s a simple video I did for my new Cirque Du Soleil audition kit. Cirque Du Soleil wants to know several things from the people that audition: can you play with your thumb, fingers, and pick; can you play in various styles; can you read music; can you improvise and also can you play the music exactly as it is written.
So for this video I played the song note for note as it is transcribed in the score and I played the song with a pick the way the reference track was played with a pick. The master shot is from the front but I also have angles to the left and right of me so I can make sure that they see I’m doing the volume swells right. It’s a weird song to play because you’ll notice the bass doesn’t start playing after the fourth measure of clicks but after the 5th. So you have to remember to count. Also, the first batch of harmonics don’t come in on the one but on the 4. There’s a lot of little things like to remember when playing it. I even had to read the music as I played along cause the ending of the song had this doubles that popped up in random spots.
But you don’t have to go this whole route to make your own audition video.
It’s perfectly fine to record your audition video straight to the camcorder. If you do this make sure the camcorder is positioned away from the speakers and not to the extreme left or right of your sound source. Always make sure that you’re well lit. Lighting is crucial when recording video.
Your audition video could be as simple as you with a jambox, playing a CD recording of the backing track, and you coming out of your amp. If you do this make sure that your levels are okay so that your bass playing doesn’t distort through computer speakers.
You’re still going to want to edit the video a bit. You need a way to cut off extra stuff at the beginning or the end. You’ll also need a way to put your information before and after the video so they’ll know how to get in touch with you if they don’t have your resume or other information available.
Windows comes with a Movie Maker that can do this if you have nothing else. It’s pretty simple to use. You just drag your video in, cut out the parts you don’t want, and then you can easily go and create text on the screen.
Once you’ve got all that done there are several ways to render your final product.
Part 6: Rendering the Video
These days just about anybody can play whatever video file is available. With the VLC player and other media players you can just about play anything no matter if it’s a .mov, .avi, .mkv, .mpg or whatever.
But you want to render your video so that it matches the project settings and looks best.
I like to use. wmv.
Whenever I render the video the .wmv settings are always great at their default. You can set it for DVD, net streaming, tiny video, or whatever you want. I typically go into the video settings and set the video smoothness quality to 100 though.
Just make sure that your video renders at the same settings, ex. if you shot at 1920×1080 then your project should be 1920×1080 and you should render at 1920×1080. That’s not to say that you can render at a lower rate. 1920×1080 is blu-ray settings but you can easily render at DVD settings or below that. Just don’t try and make a DVD quality video into a Blu-ray quality video. It won’t exactly work.
When I render I choose the .wmv file extension and I choose the settings that fit my project and that’s pretty much it. Since I shoot in DVD quality choose the 720p 29.97fps setting and run with that. It always looks best and sounds best.
So, that’s pretty much it. Let me know if you have any questions.
I’m going to do a part 2 to this on Saturday which goes over the time I had to put together a whole song with drum machine, keys, and my bass; record it, video it, and send it off the next day. Good times.

Thanks for taking the time and effort to put together this great information. You’ve really done a great job.