
Back in 2013 I got an offer to play in Mexico for two-and-a-half months. I accepted the offer and then immediately started stressing about how I was going to get all my gear over there. I’d never toured outside of the country before so I wasn’t quite sure how I was going to safely and securely ship my equipment. All the online help was from guys that were professional touring musicians–they had money for flight cases. I was seriously tapped out on funds so I had to figure out the best way to make crates for my gear, my partner’s gear, and how to ensure that they would not only get there in once piece but would make it back to the States in perfect condition.
After accepting the offer on the gig I looked at my credit card and bank statements to see how much money I had for shipping. It was not a lot. Then I started making calls to packaging/shipping companies in town to see how much they would charge me to crate and ship my stuff for me. It was a huge amount. Way way way too much for me to afford.
Then I emailed the company to find out exactly what they do when shipping gear over to Mexico.
Basically, I was working with a cirque company and they had many artists from all over the world, each with their own set of gear of various shapes and sizes and weights and requirements. So, they were dealing with this on all fronts. However, the company knew what they were doing and set my mind at rest. They said that they would reimburse me the money I spent on the packing material and would pay to have it shipped. Hey, that’s great. However, they wouldn’t pay to have someone build it. Dammit!
Alright, I can figure this out.
First things first, let’s figure out just how big we need to make this crate.
I quickly decided that I was going to need two crates. I was traveling with my guitarist so we decided that we were going to pack all of our stuff together. So I got all of his electronic gear and all of his guitar cases together.
 I then stacked all of our electronic gear into how it would be packed inside a crate. This was our foot pedals; our luggage with instrument cables, ebow, microphones, rackmounts, etc.; basically, anything not a guitar case.
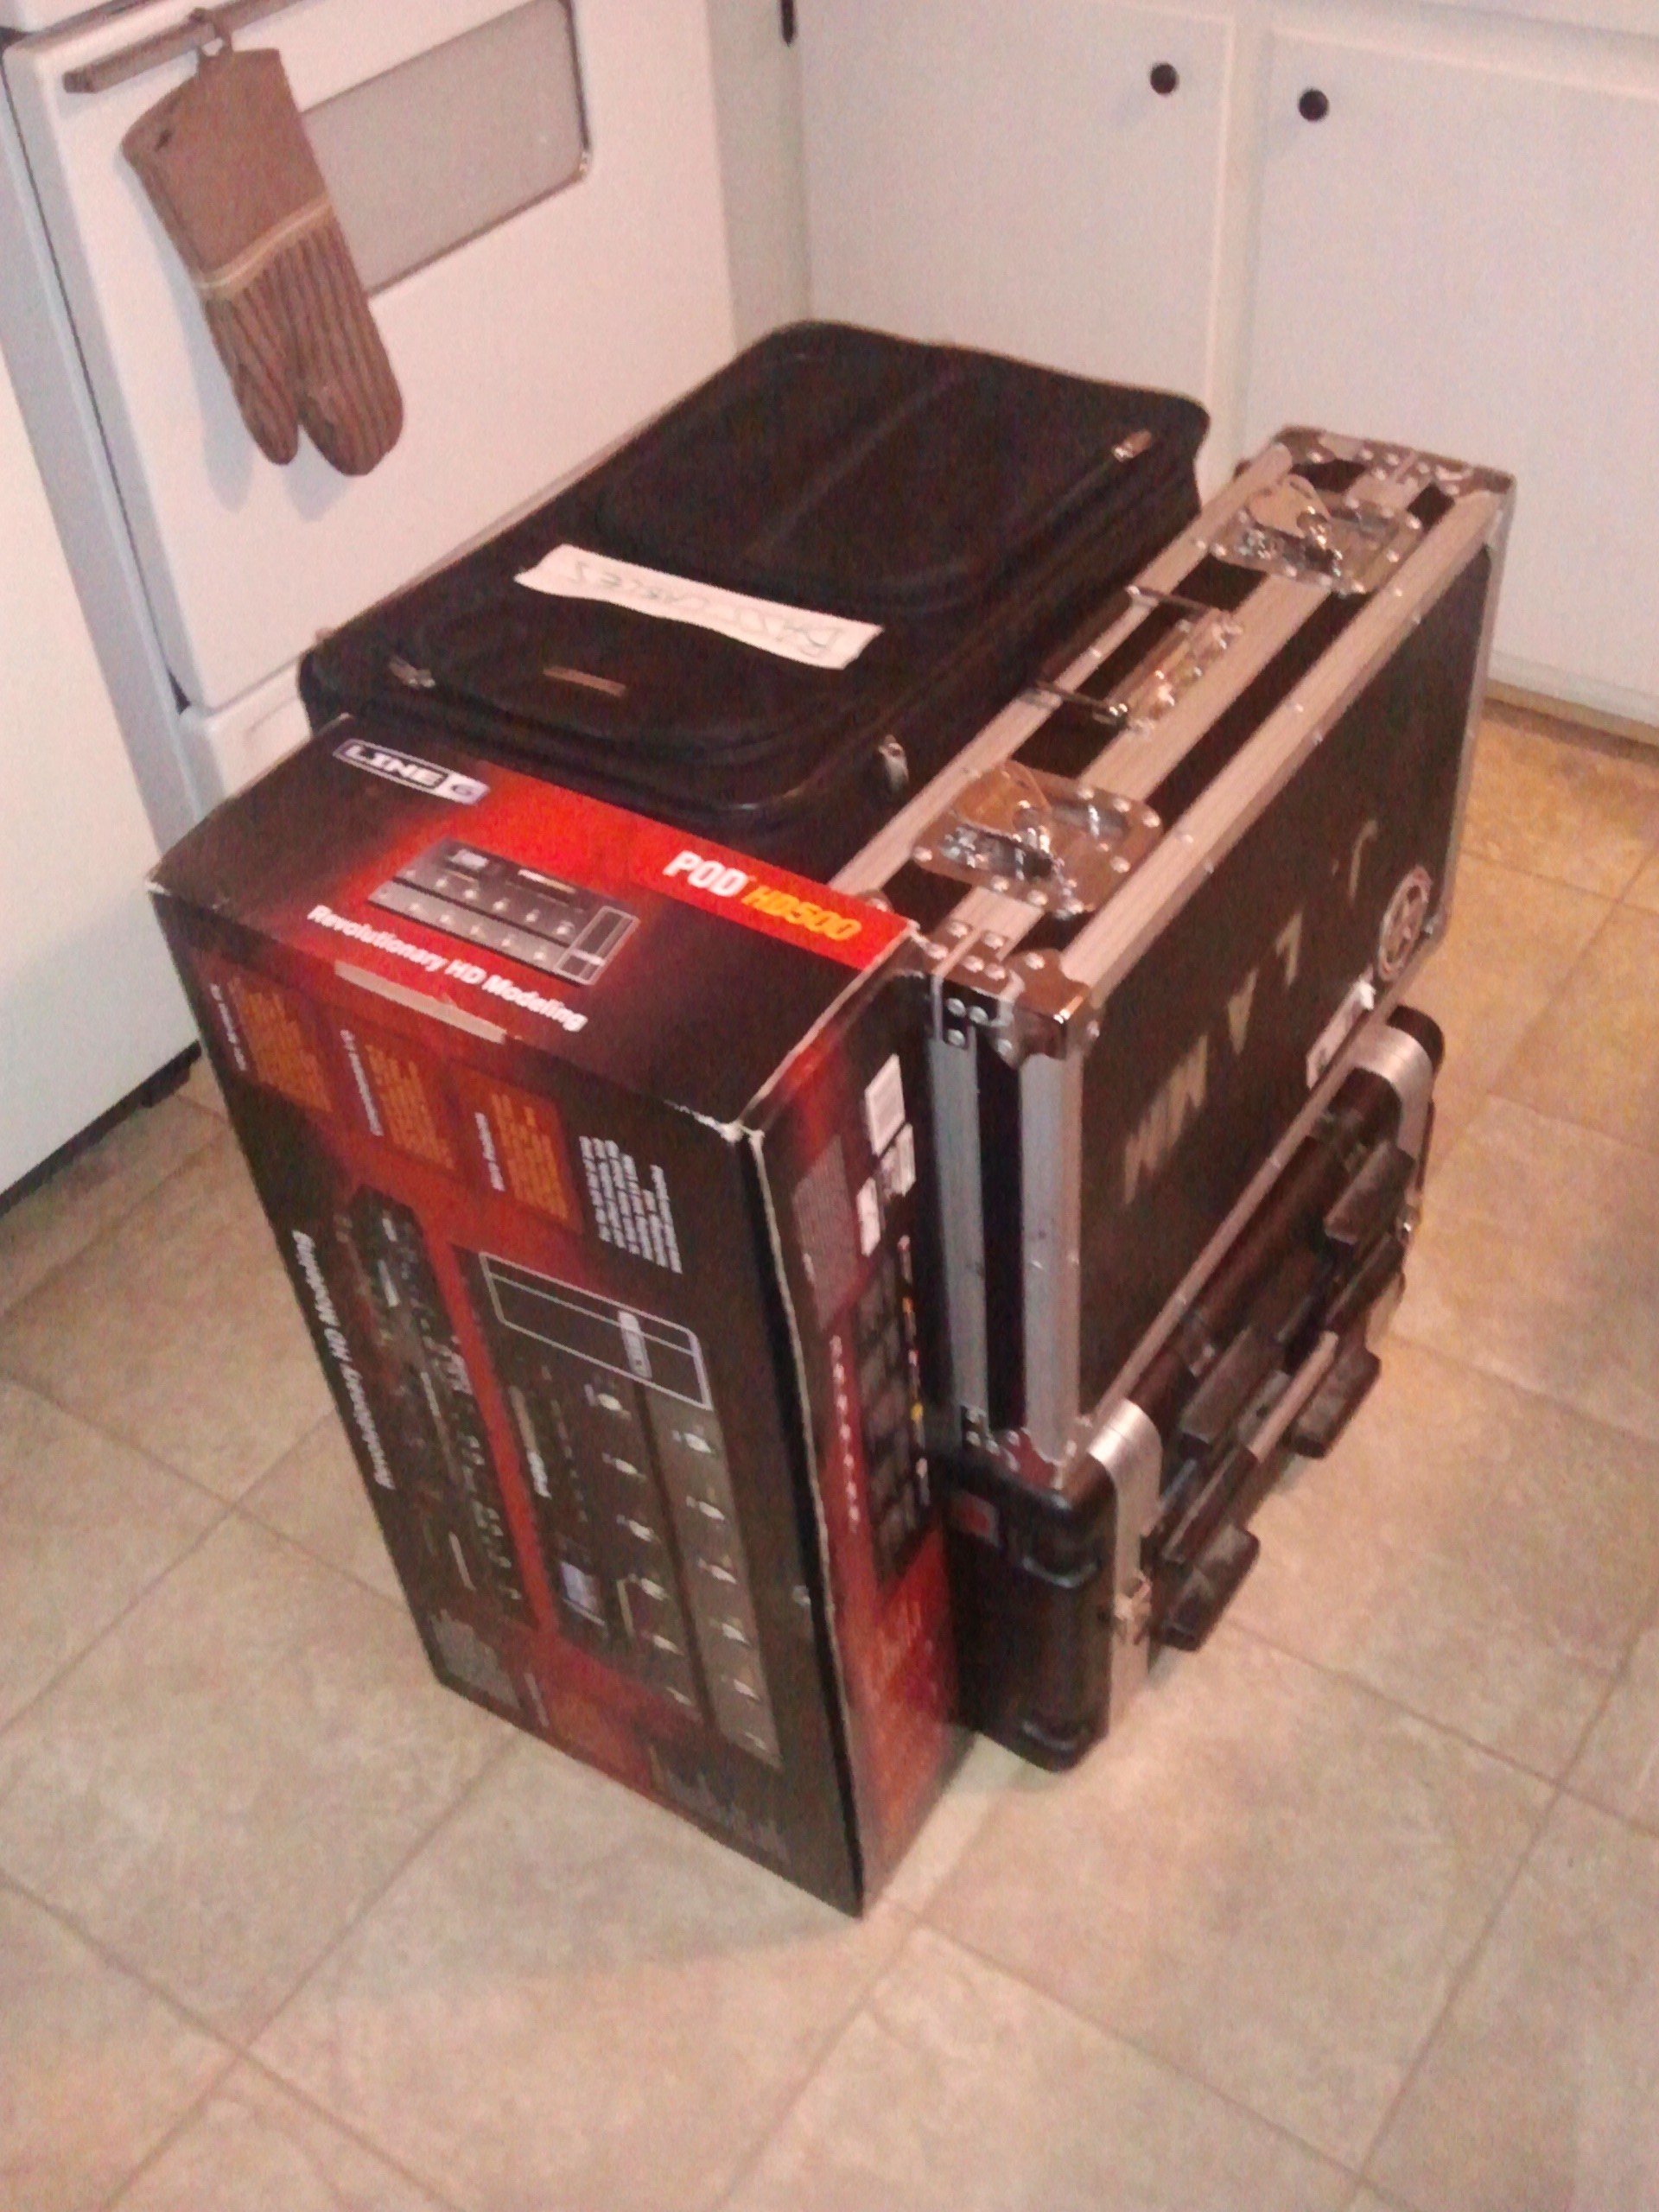
I stacked all this up into something as close to a block as I could get it. It looked something like this.
That’s my rack mount; Keith’s Line 6 HD; my 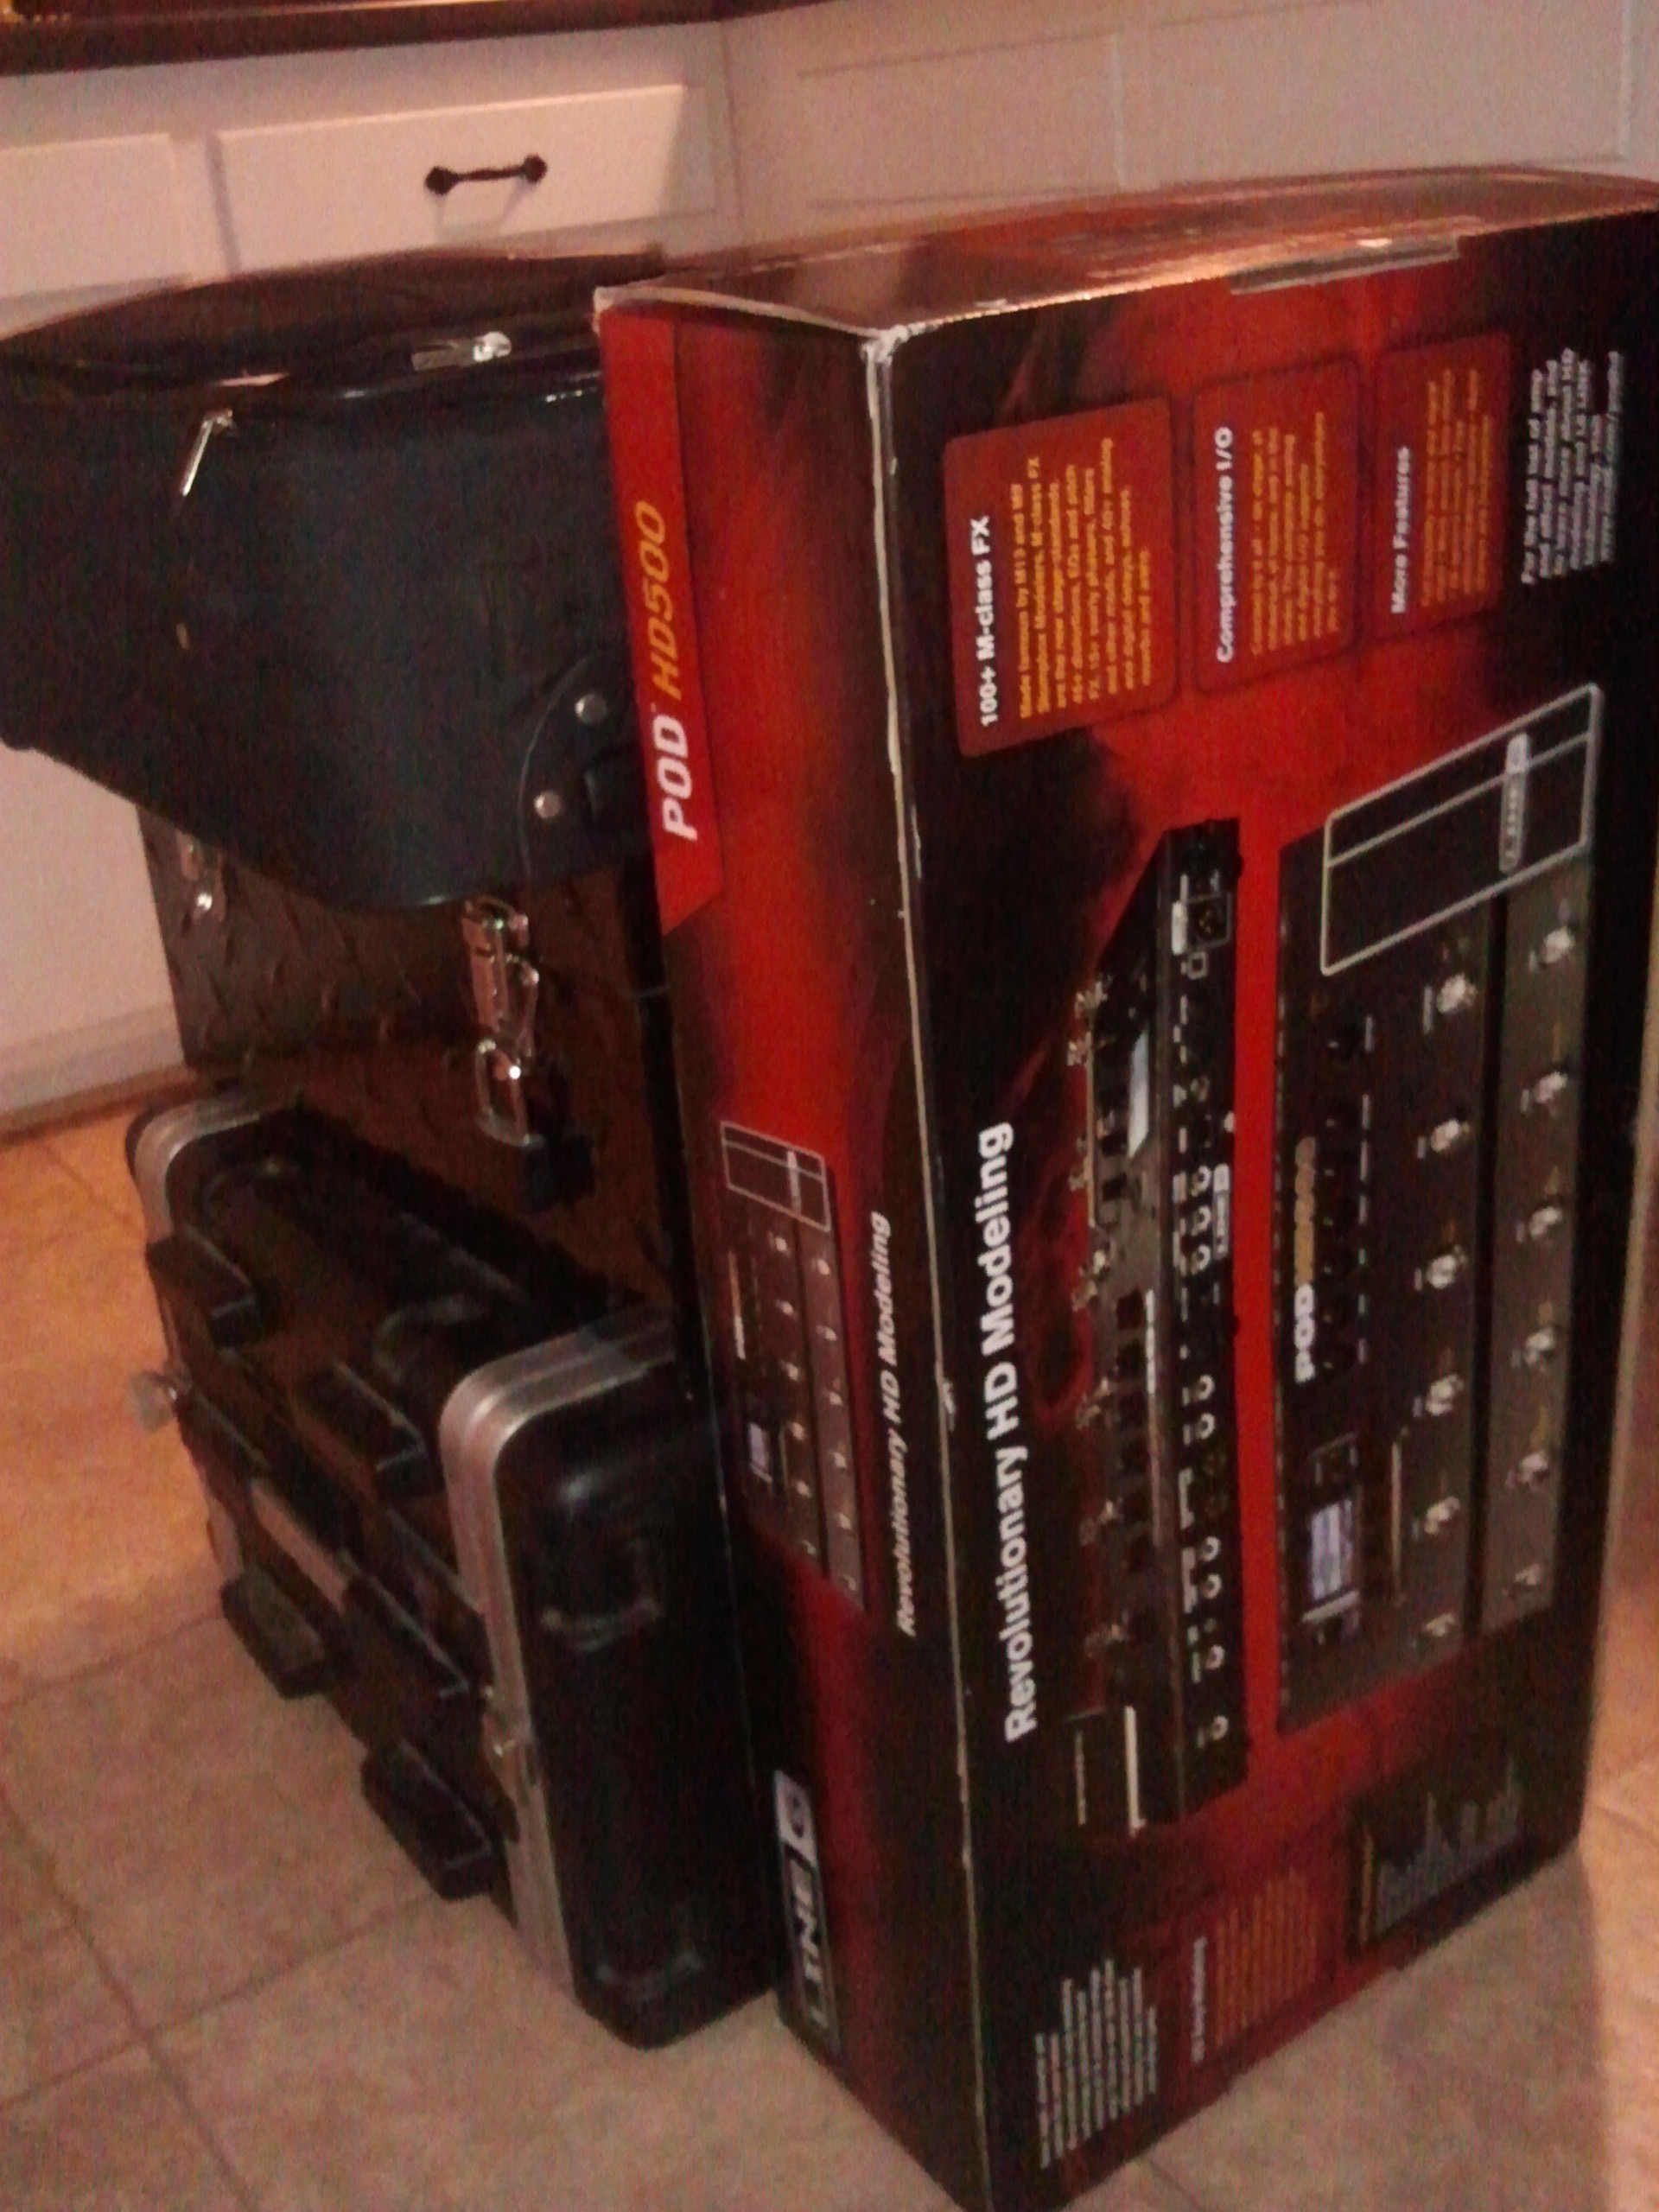 instrument cable bag that contains extra strings, cables, personal microphone, in-ear monitors; and Keith’s box of tools that we use to work on our own gear–because who needs roadies when you know how to do it yourself.
I measured the dimensions of this sorta cube. This tells me how big I need to make the bottom, the long side, and the short side of the electronics crate.
And, of course, I did the same thing to all my instrument cases. I stacked them all up and measured how high and wide I need to have the inside of the instrument crate. I knew that I wanted to pad the inside of this crate so I also considered the how much extra I would need to allow for foam board. So, let’s get right into the steps.

Basically, we’ve been talking about Step 1 in the process: measure the items you want to pack.
Of course, you’re going to allow for room so that the contents fit inside the crate with some added cushion. Don’t build your crate so that everything fits snug and butted up against the wood. Allow for some room.
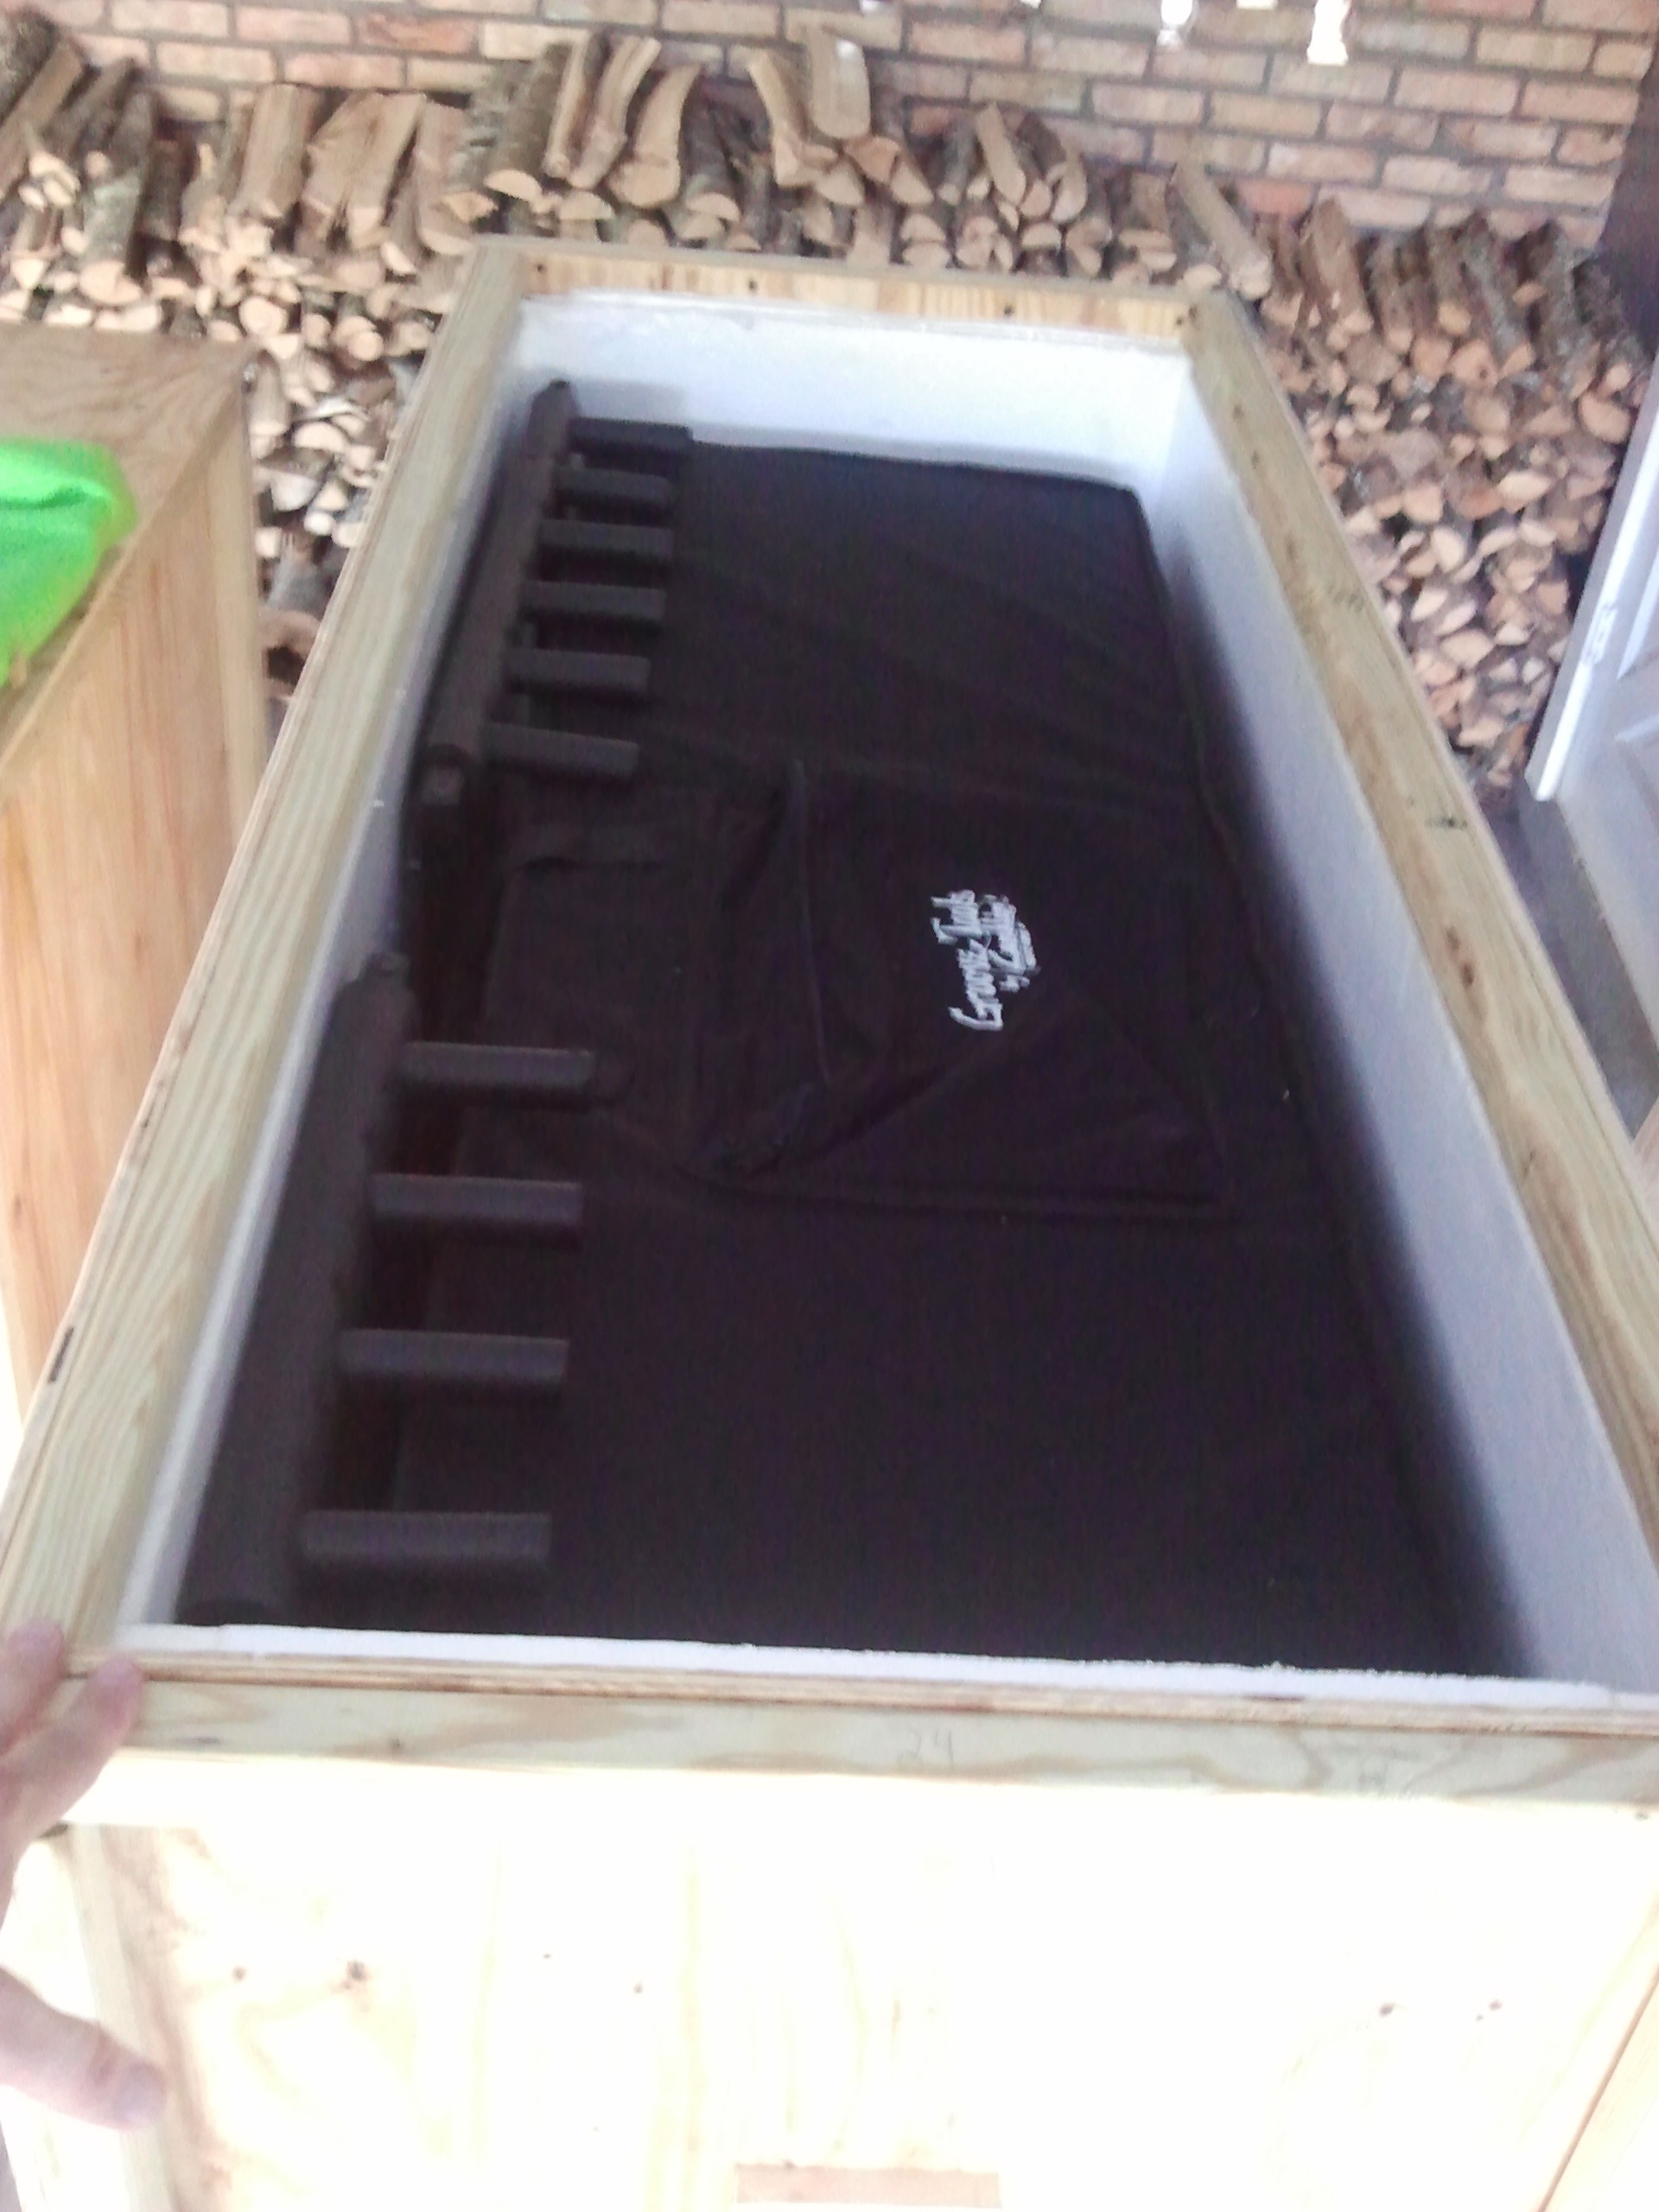
In my case, I stacked up all the items together the way they will be packed inside the crate. I also allowed for an additional layer of foam lining inside the crate as well as a few blankets thrown in for good measure.
Step 2:
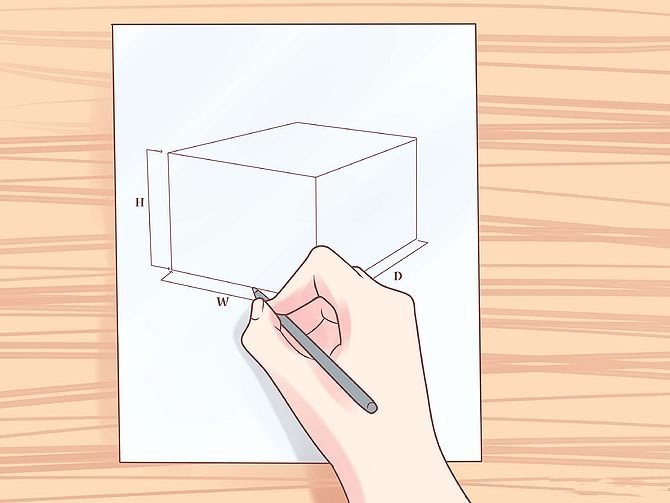
Now we’re going to get into mapping out the crate and how you want to build it. There are many ways to go about making a crate. I saw a guy that made the entire crate and then lined the edges with steel.
Drawing the crate will help you decide the materials you’ll need to buy. Do you want hinges for the top? Do you want skids on the bottom?
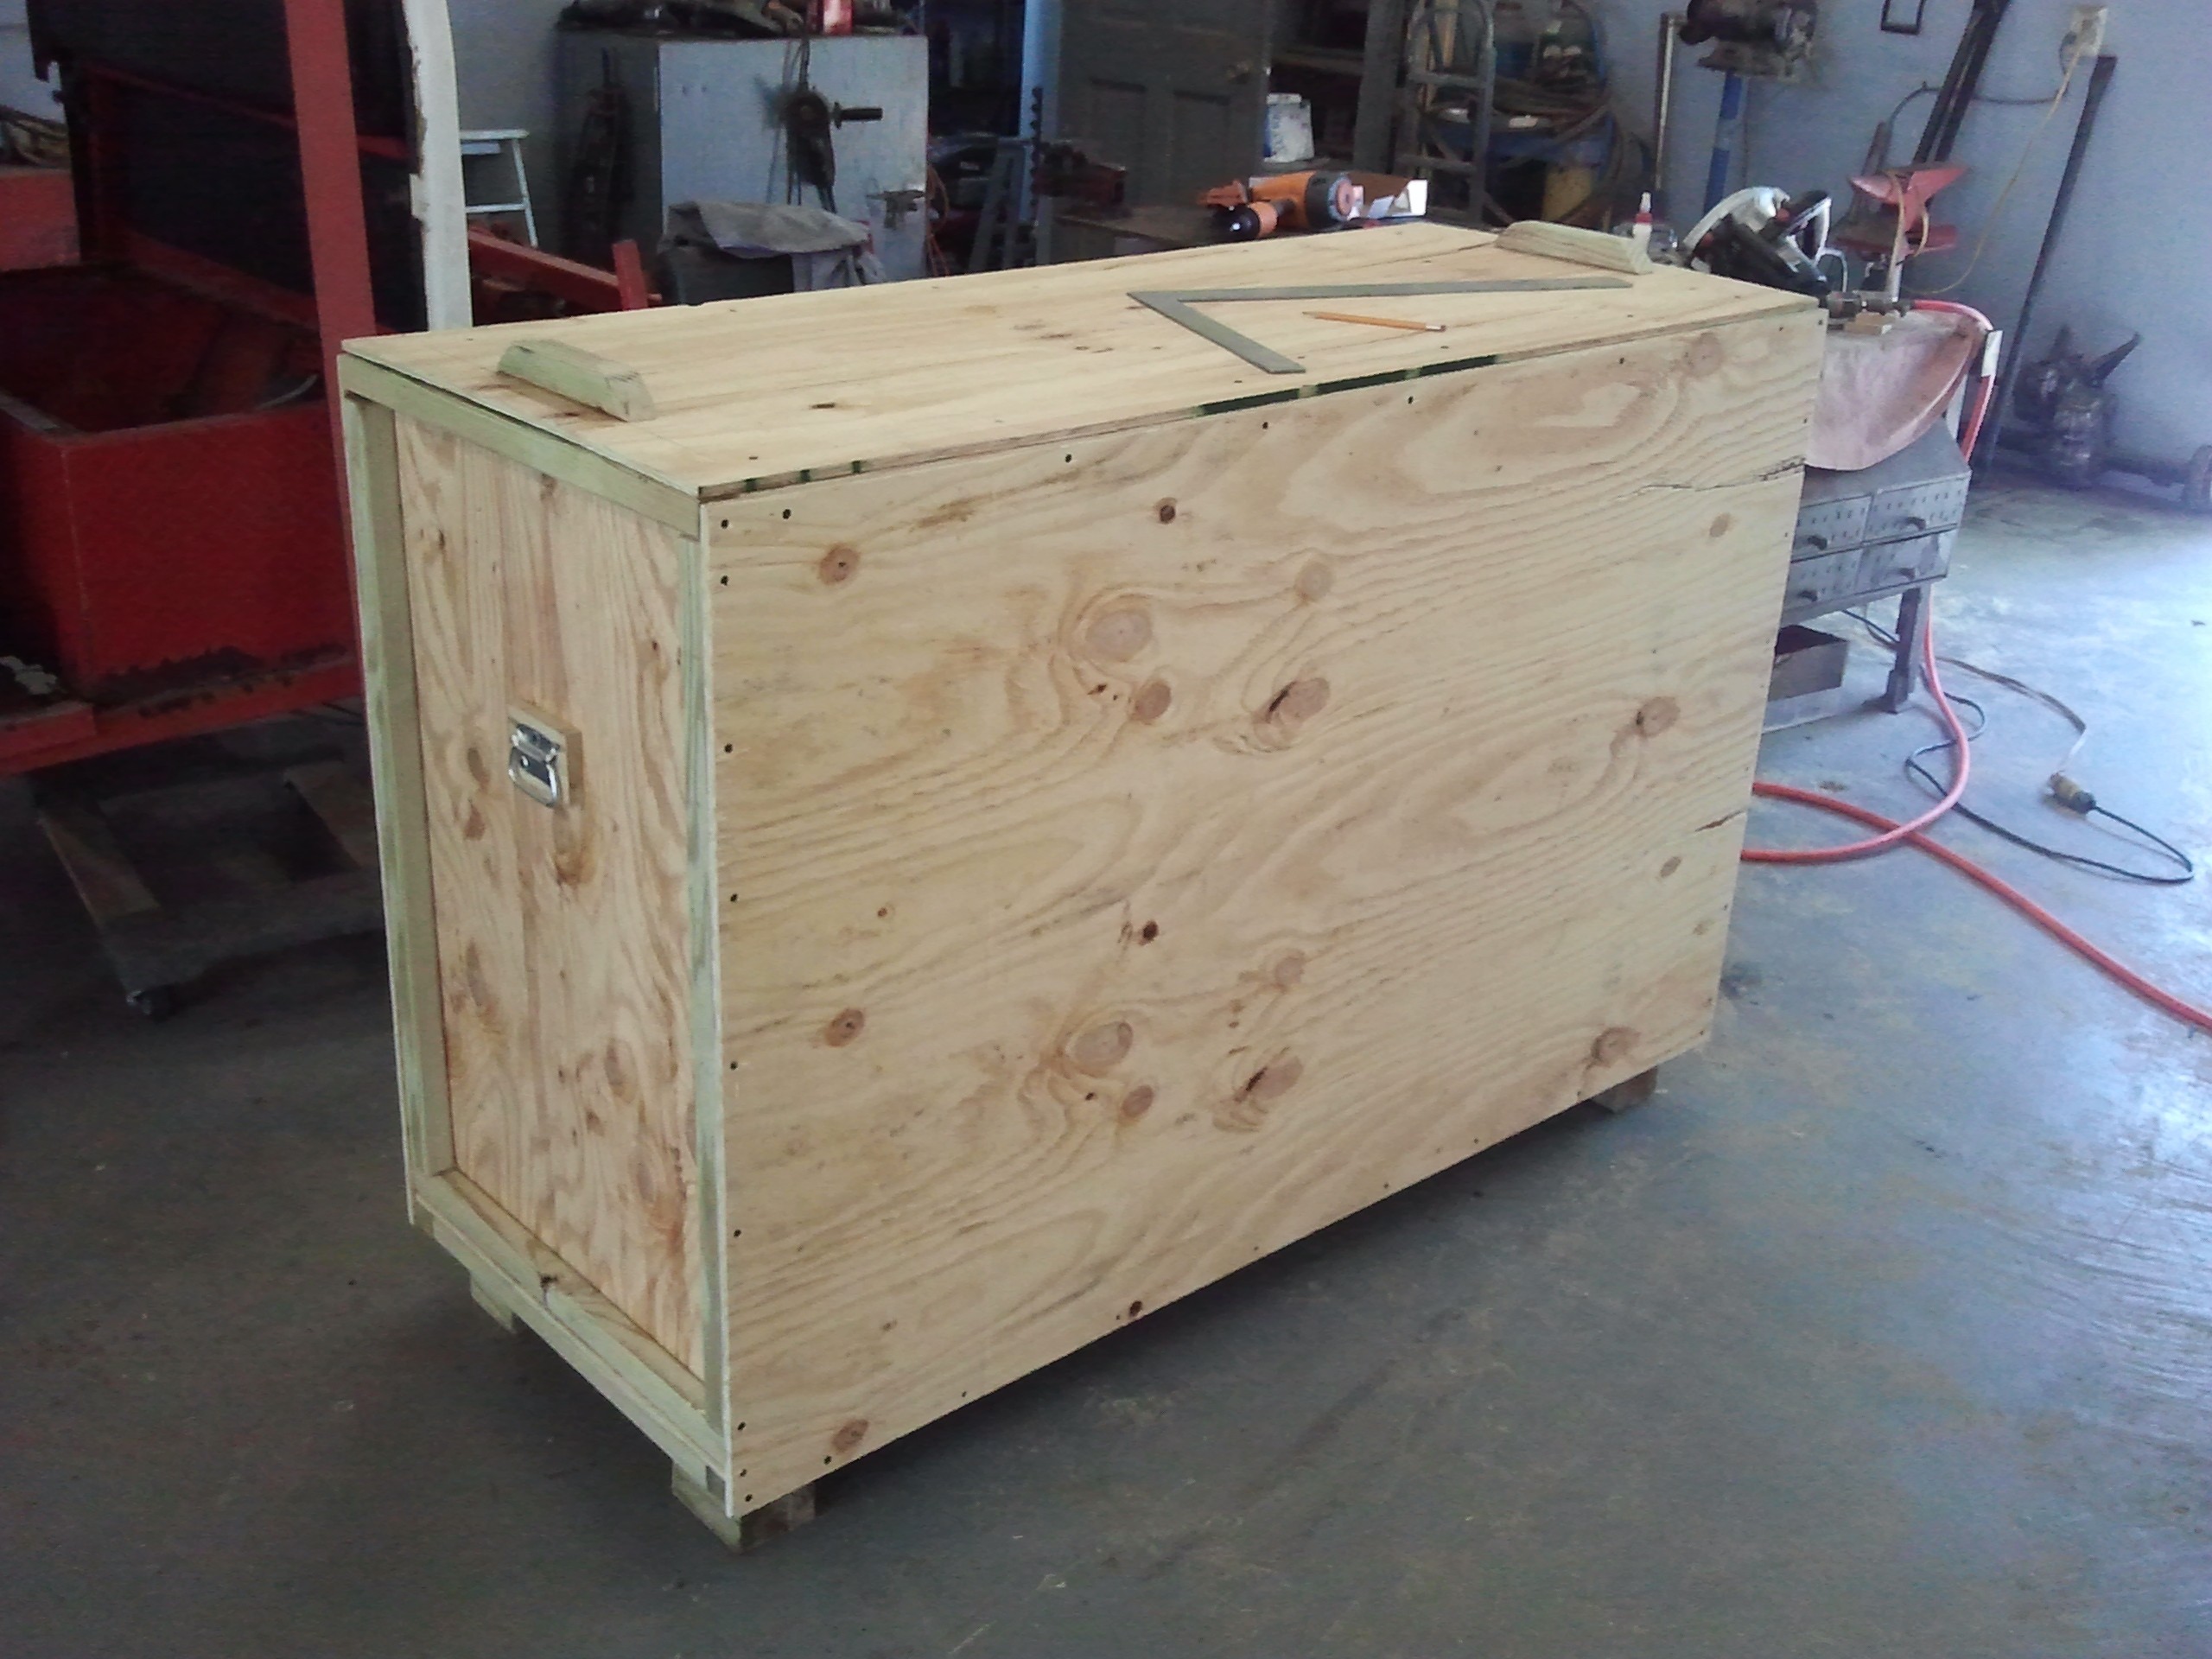
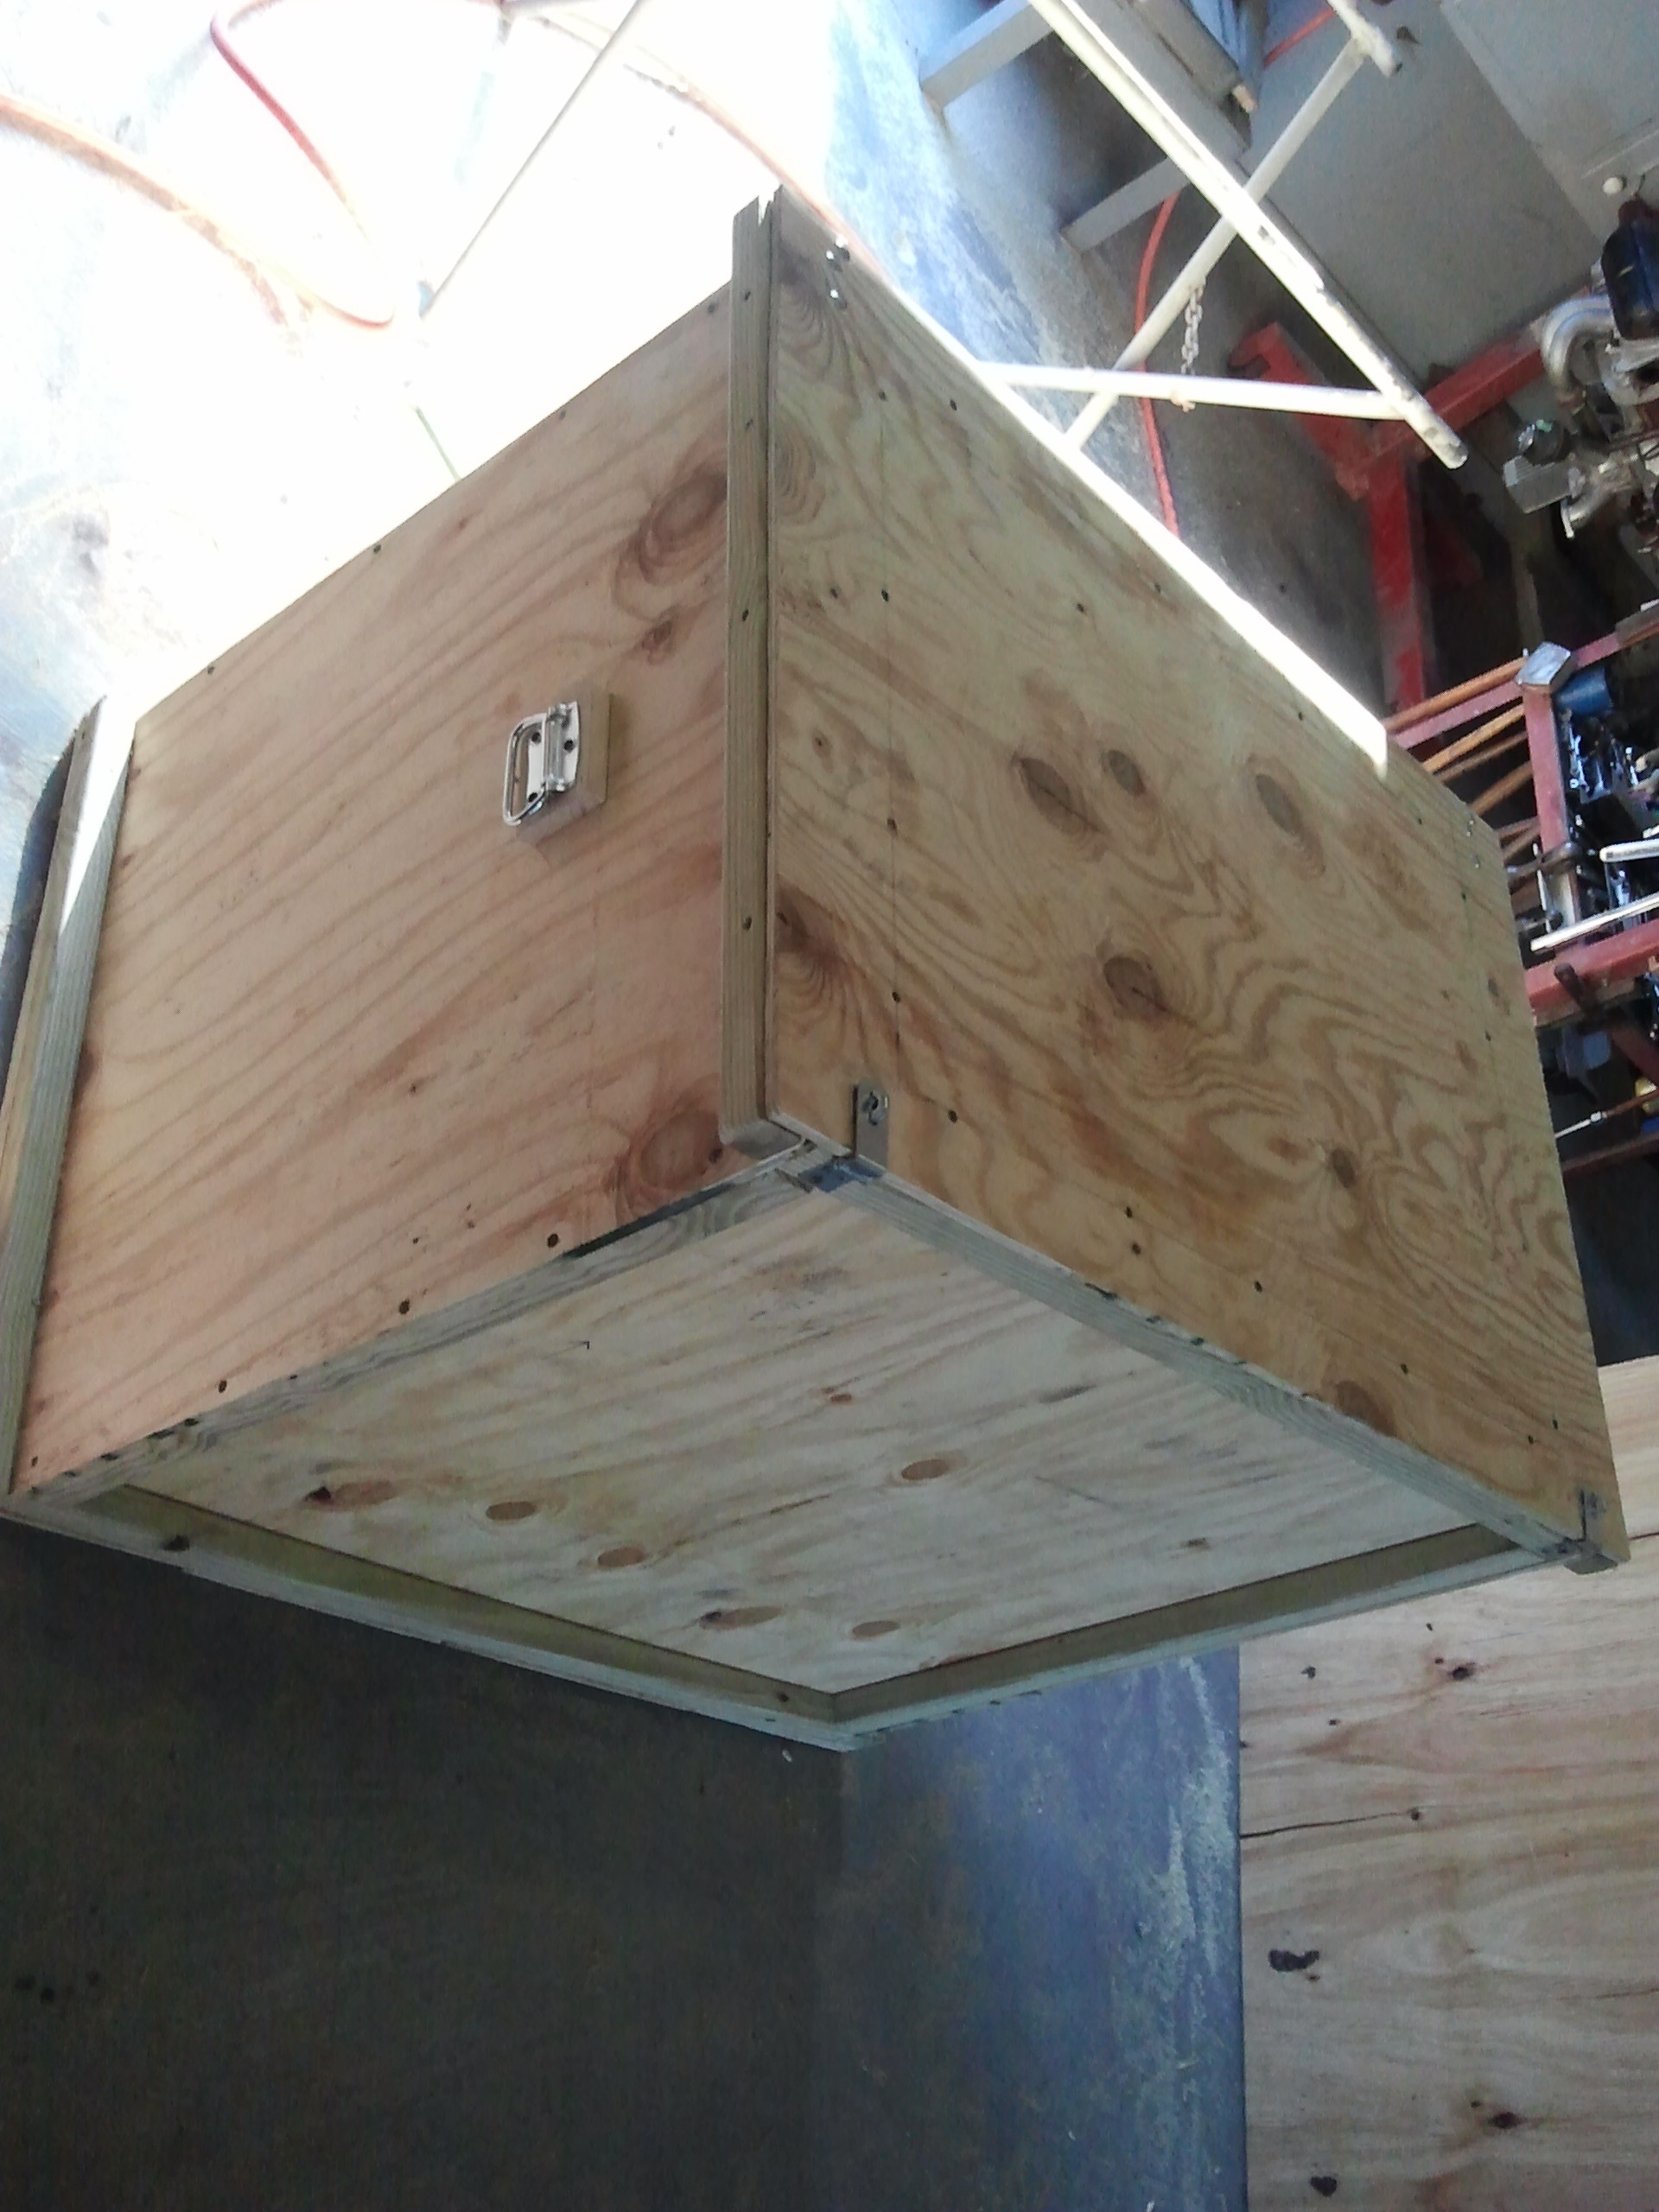
In my case, I wanted a top loading crate with skids on the bottom. I knew that the crate was going to be heavy so I needed something that could be loaded by either a forklift or a pallet jack. I also wanted to make handles on the side so once it is on the truck it could be handled, slid around, or positioned.
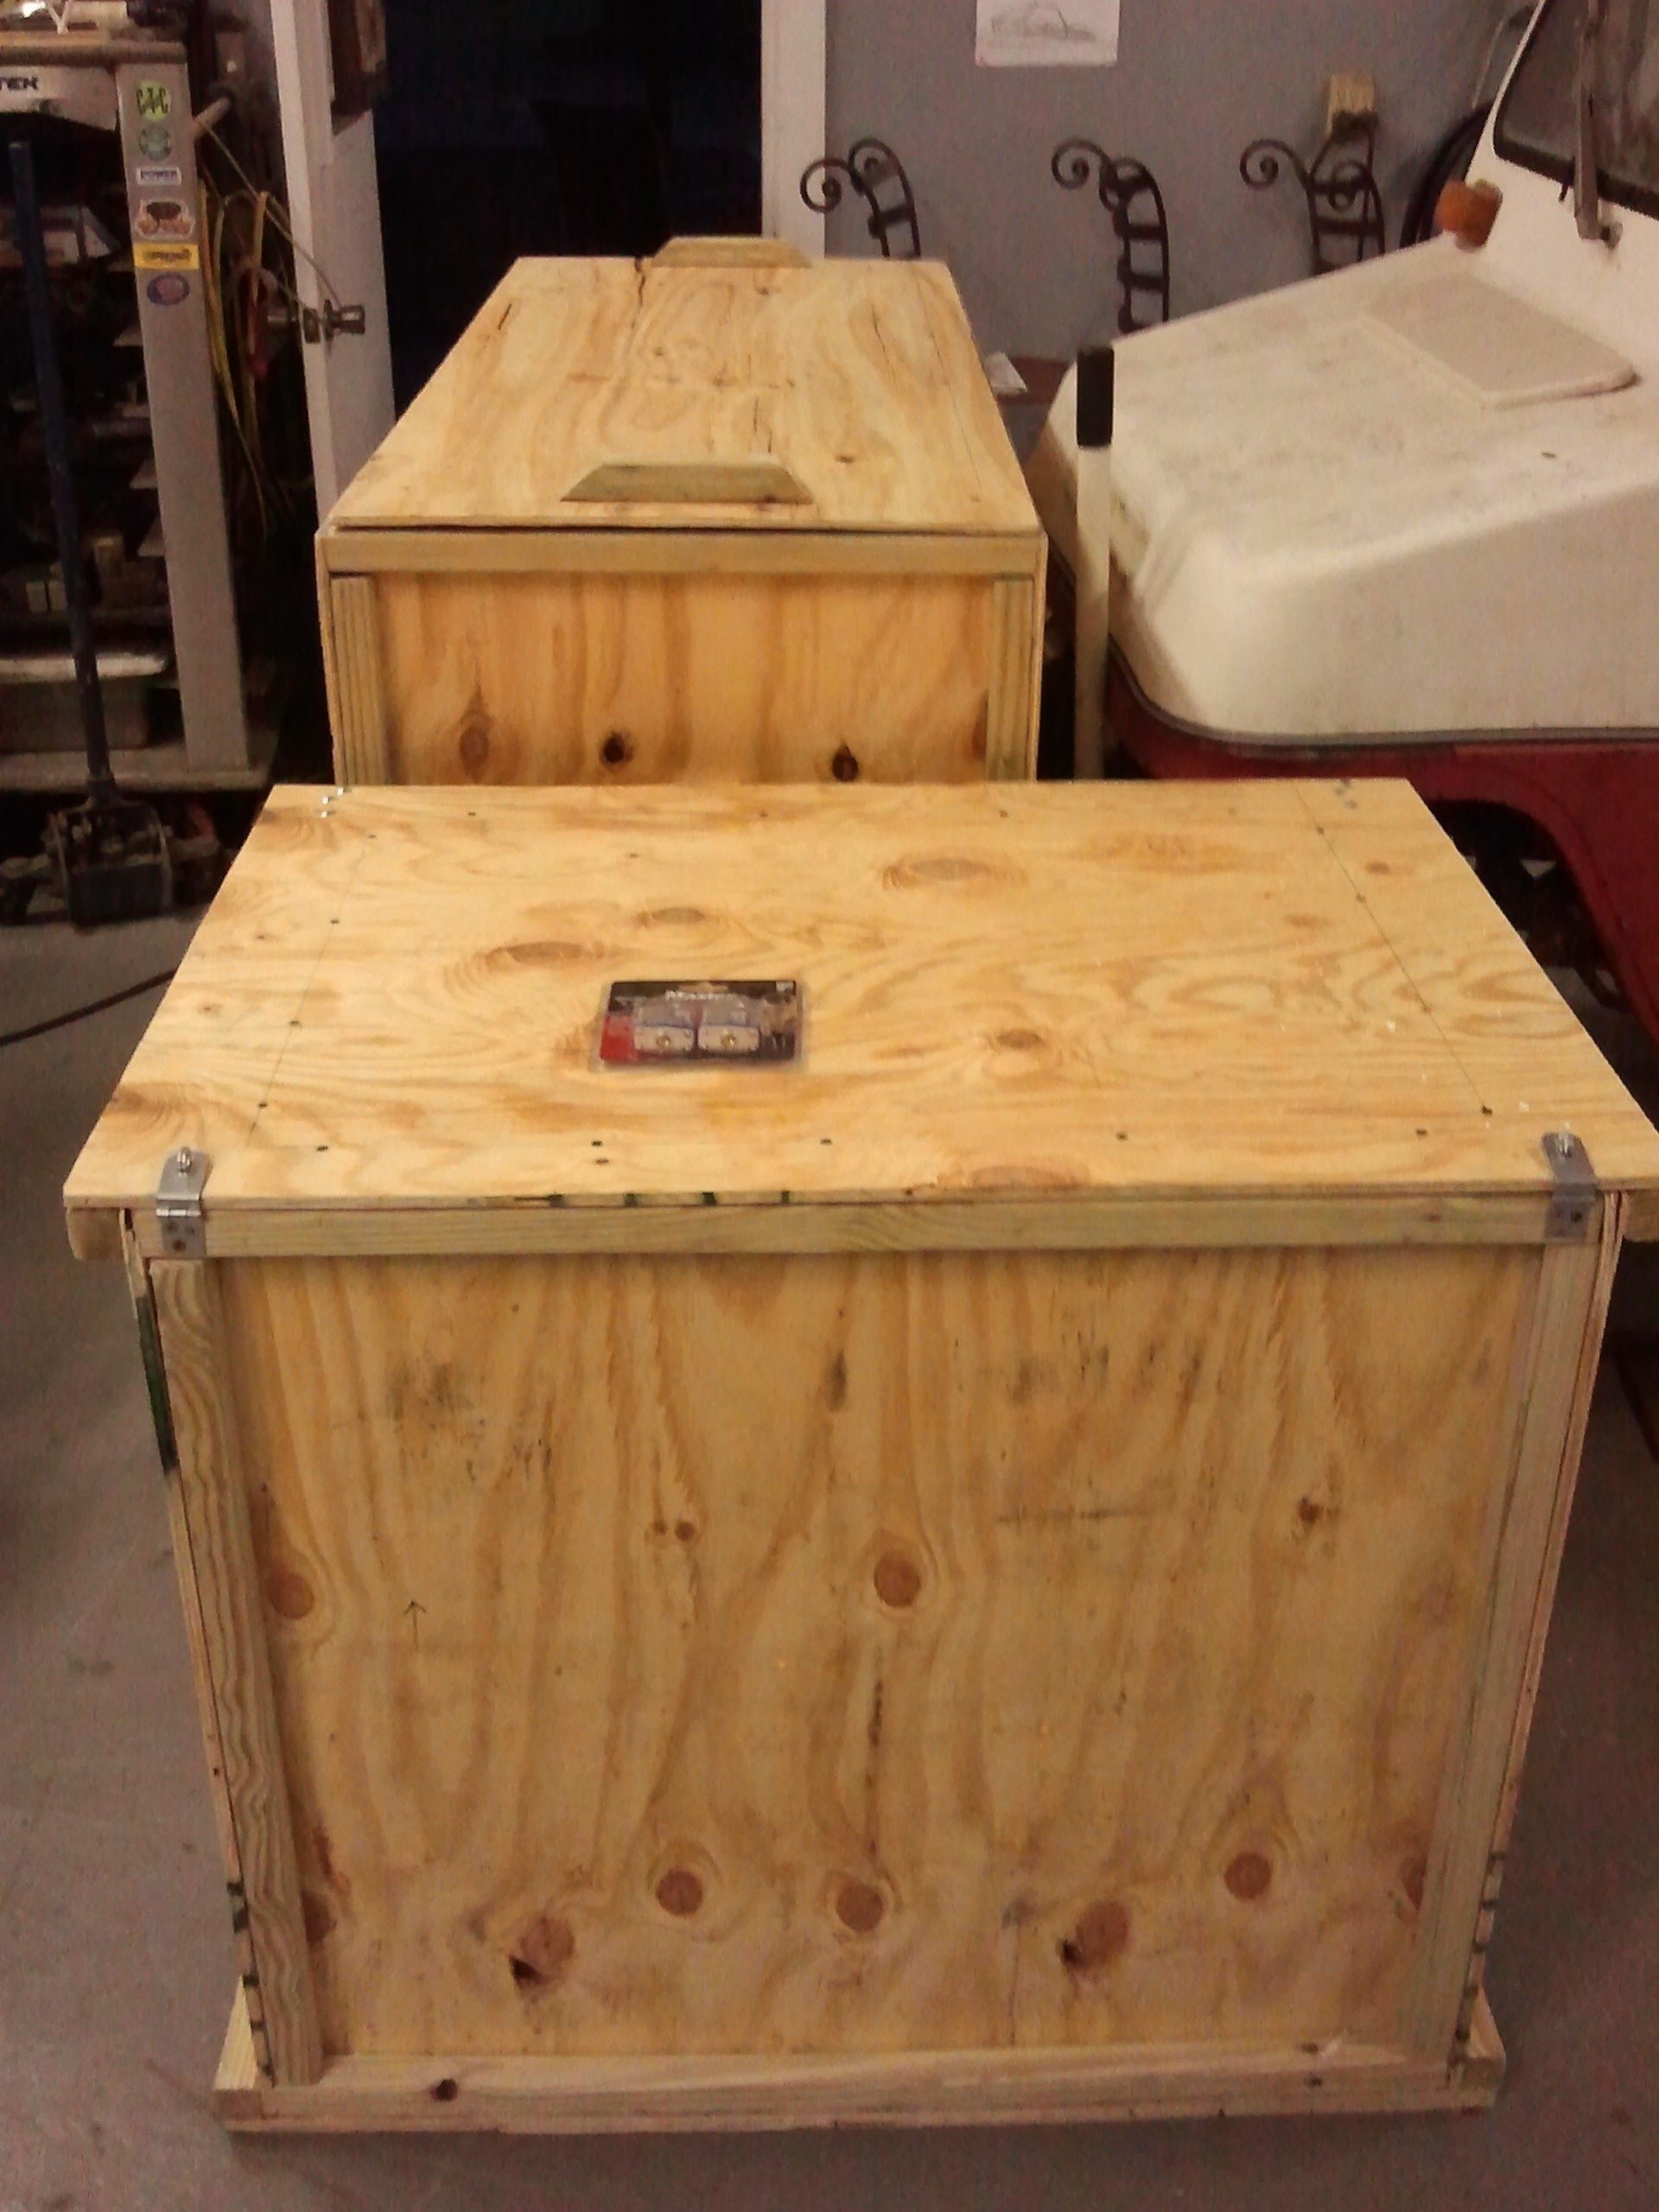
I knew that one of the crates was going to be smaller and lighter so I knew I wanted it to have a flat bottom so it could be placed on top of the larger instrument crate. 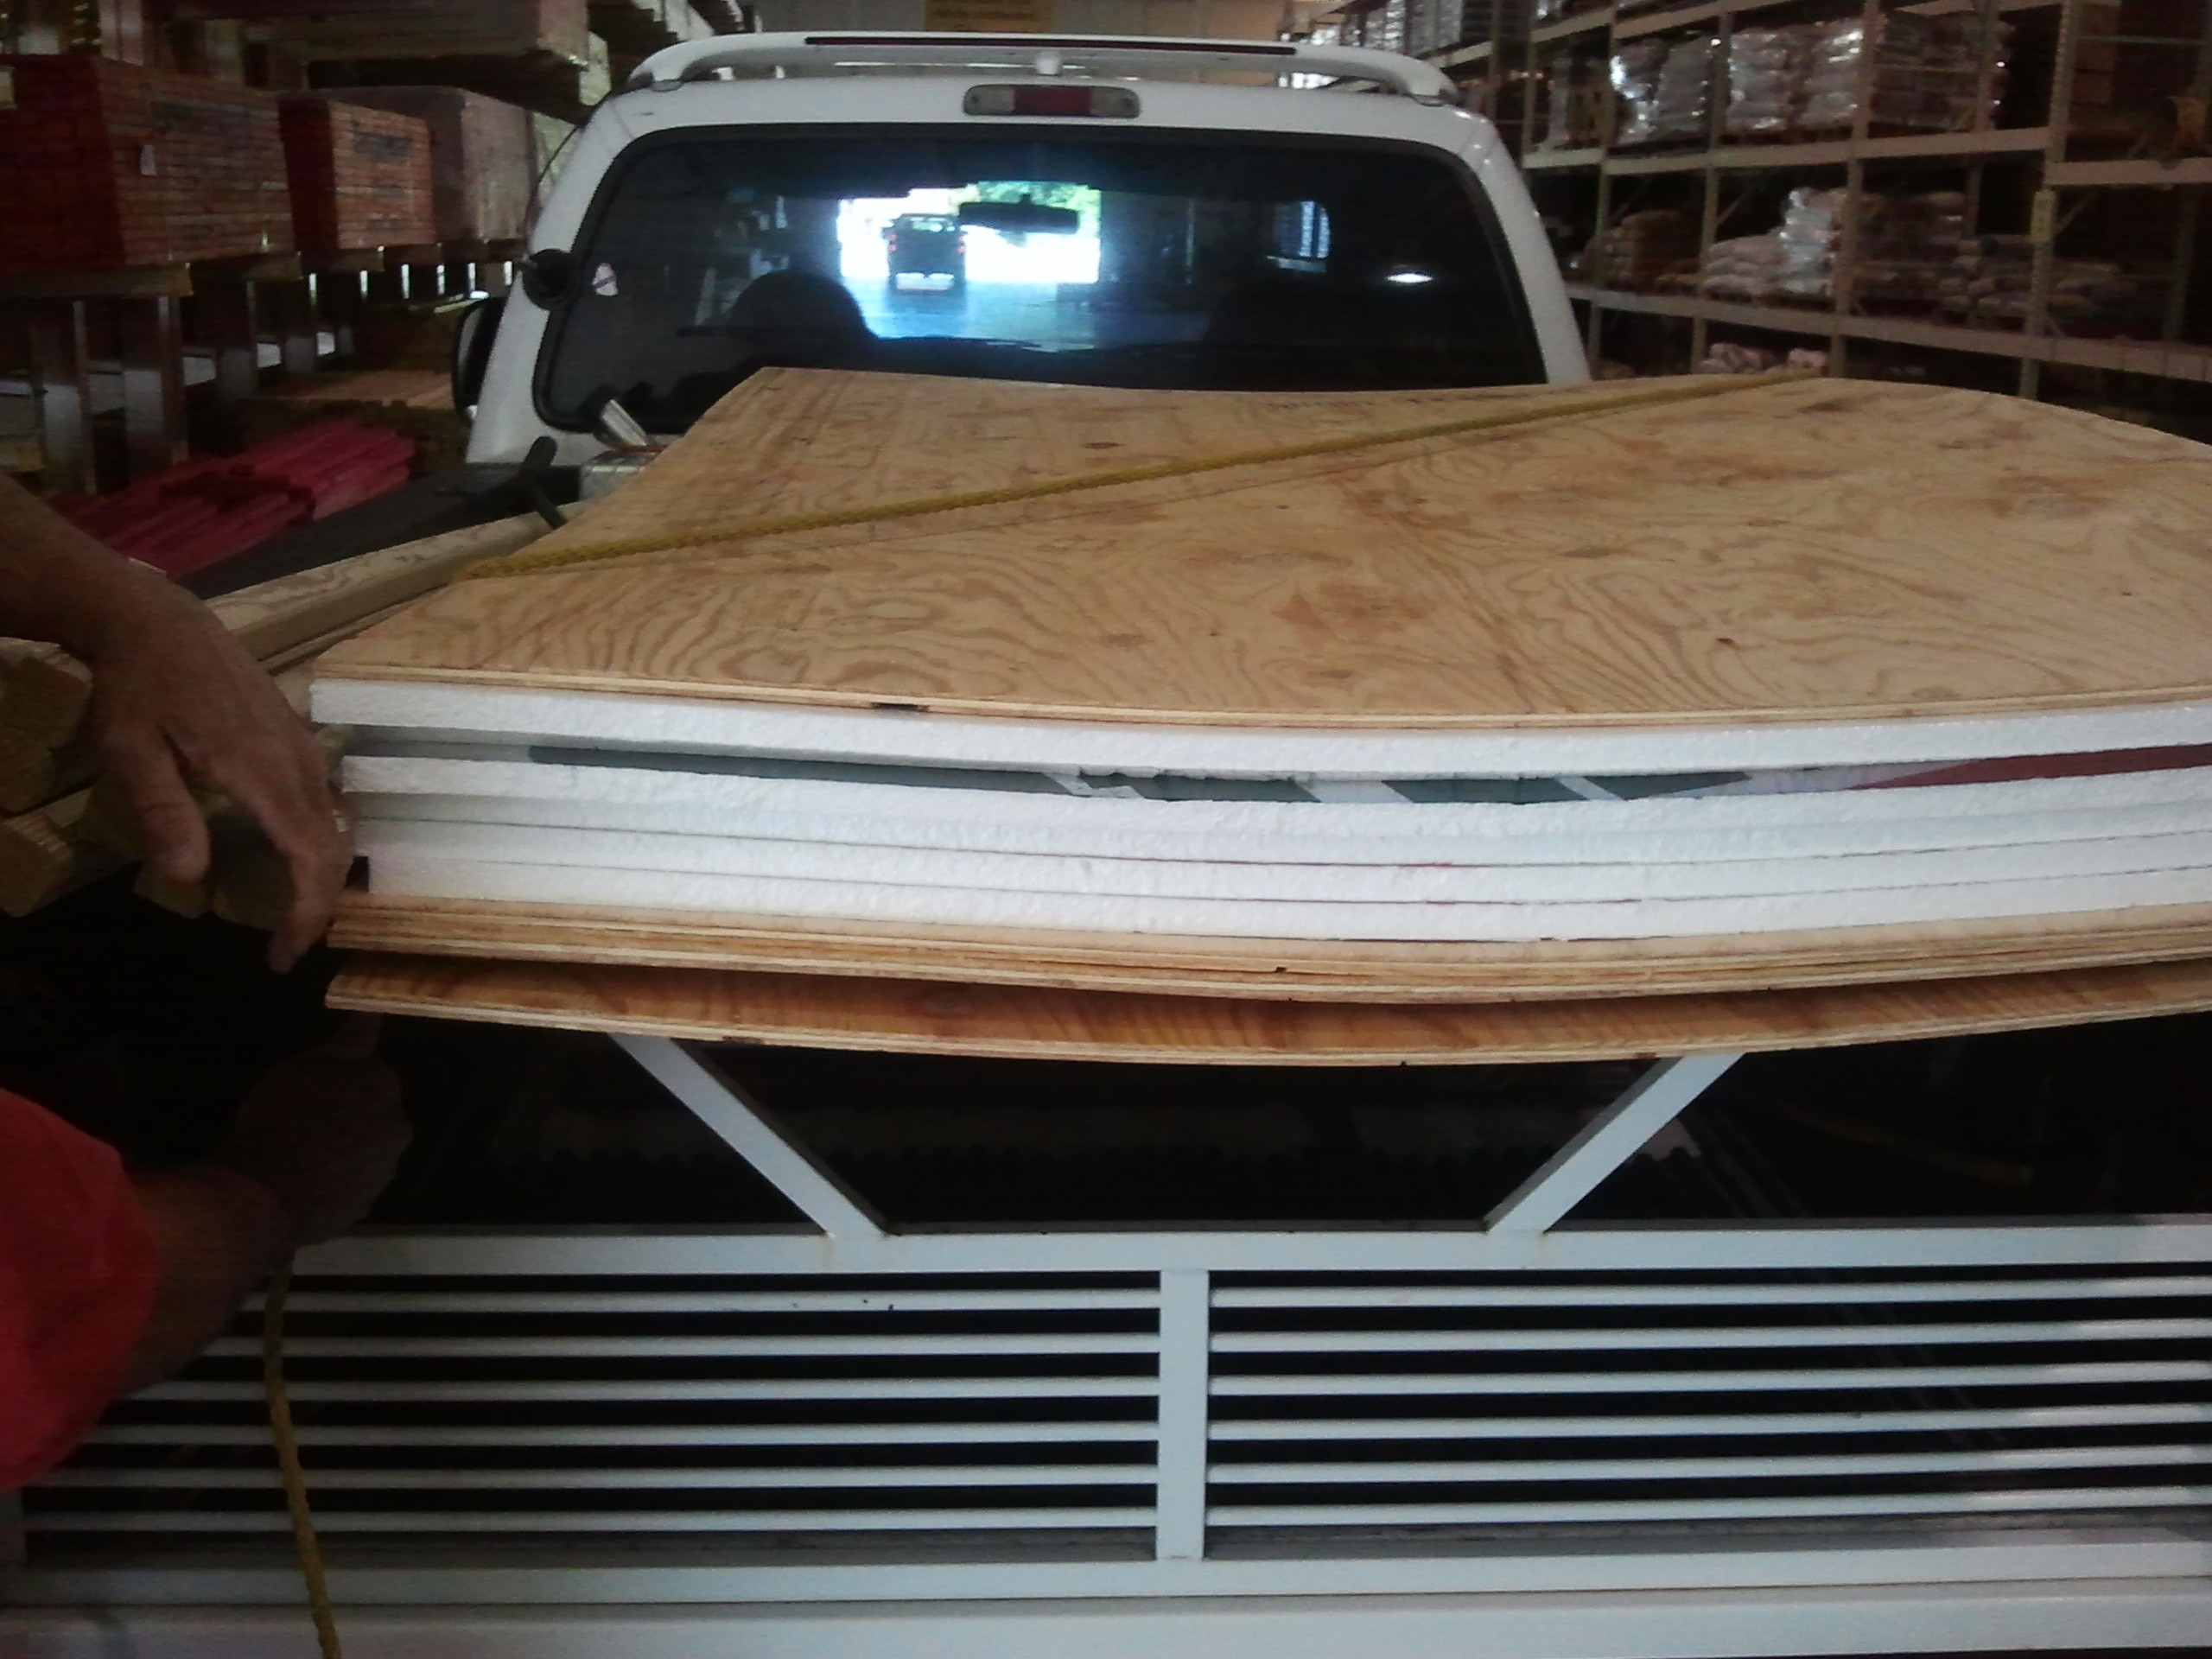
So I measured everything and determined how much plywood I was going to need to cover all the sides of the two boxes, the ribbing that would hold the sides together, how many screws I was going to need, how many hinges, locks, glue, foam, etc. etc.
I then went to my local hardware store and loaded it all up.
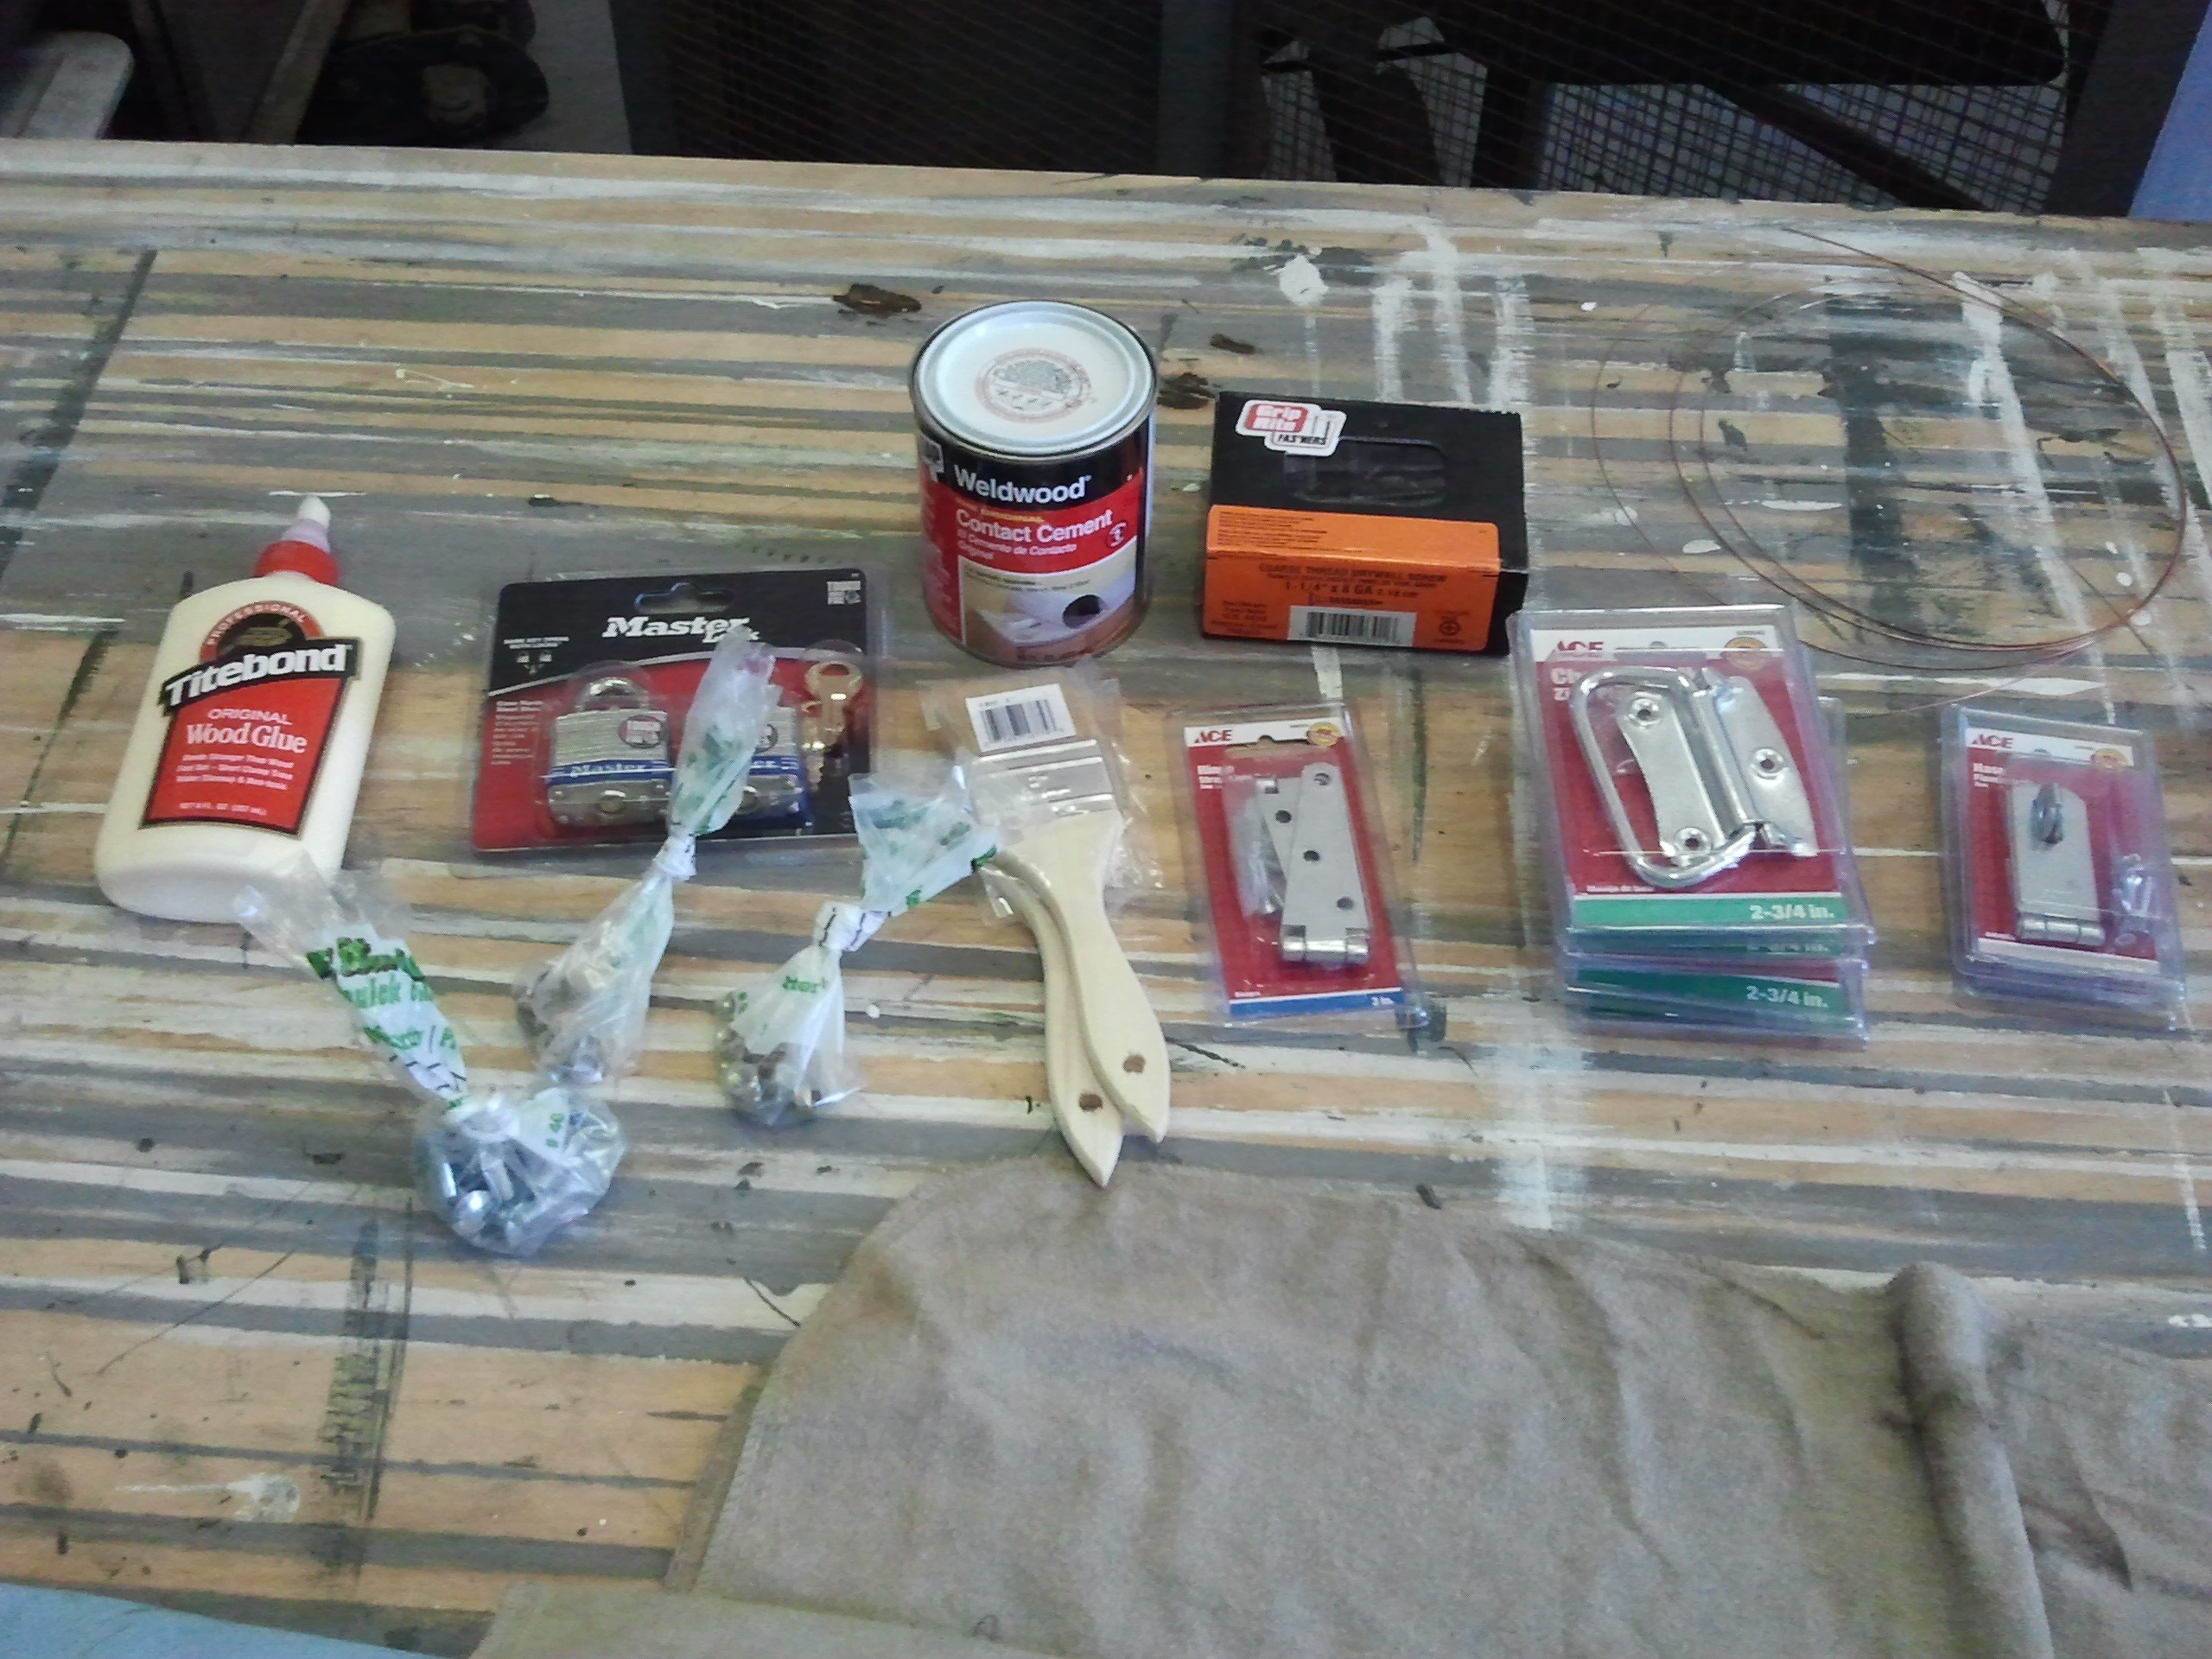 I ended up with just what I needed.
You’ll see here that I have some wood glue. I use this to glue the pieces of wood before screwing them together–making a better seal. I also have some paint brushes to apply the rubber cement that I’ll use to attach the foam board inside the crate. I’ve also got my screws, nuts & bolts, locks, lock levers, and handles.
Good deal! Now it’s time to start cutting and move on to the next step.

Step 3: I’ll assume you’ve made your list of materials and now you’ve got what you need. Hey, if you missed anything you can always go back, right?
Well, now at this point you can cut your lumber the way you’ve mapped it out for yourself in your diagram. This is called the framing process and you’re basically getting all your sides and edge ribs cut so you can quickly assemble them.
It goes without saying that you should read through all these steps before starting. Because, remember, you should always cut your lumber knowing that a couple of sides have to be used to connect to the other sides. For example, if you’re making a cube that’s 4′ x 4′ x 4′ you can’t just cut all your lumber to be 4 feet squares. Some of the panels need to be long enough to attach to the other pieces. We’ll get into that in the next few steps.
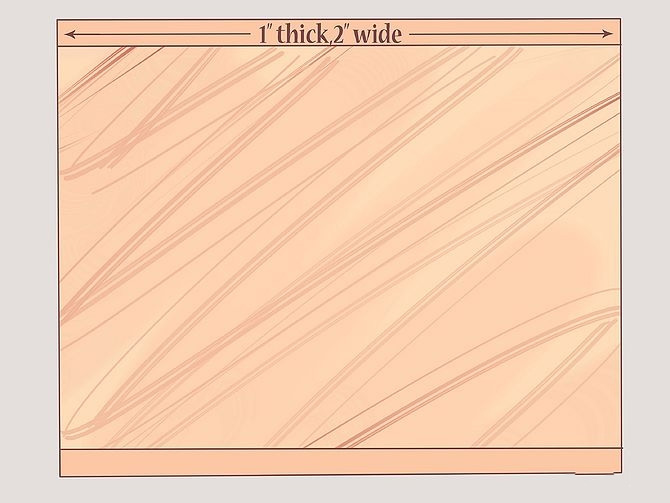 Step 4: Now that we’ve got our panels made we’re going to attach 1-inch by 2-inch wide strips to create a rib structure.
The purpose of these strips is two-fold. You’ll use these to add stability to the panels as well as use them to attach the other panels. When I attached my 1×2 strips I put down a bead of wood glue first. I attached the strips where they should go and then I drilled them in place. If your screws come out the other side you can always get a grinder or some snips to trim them down. Just make sure that they’re secure because if other people are going to be handling your create they’ll probably be using these strips as opposed to the handles. You know how people are.
Here’s an example. of how one of my first panel looks.
 .
.
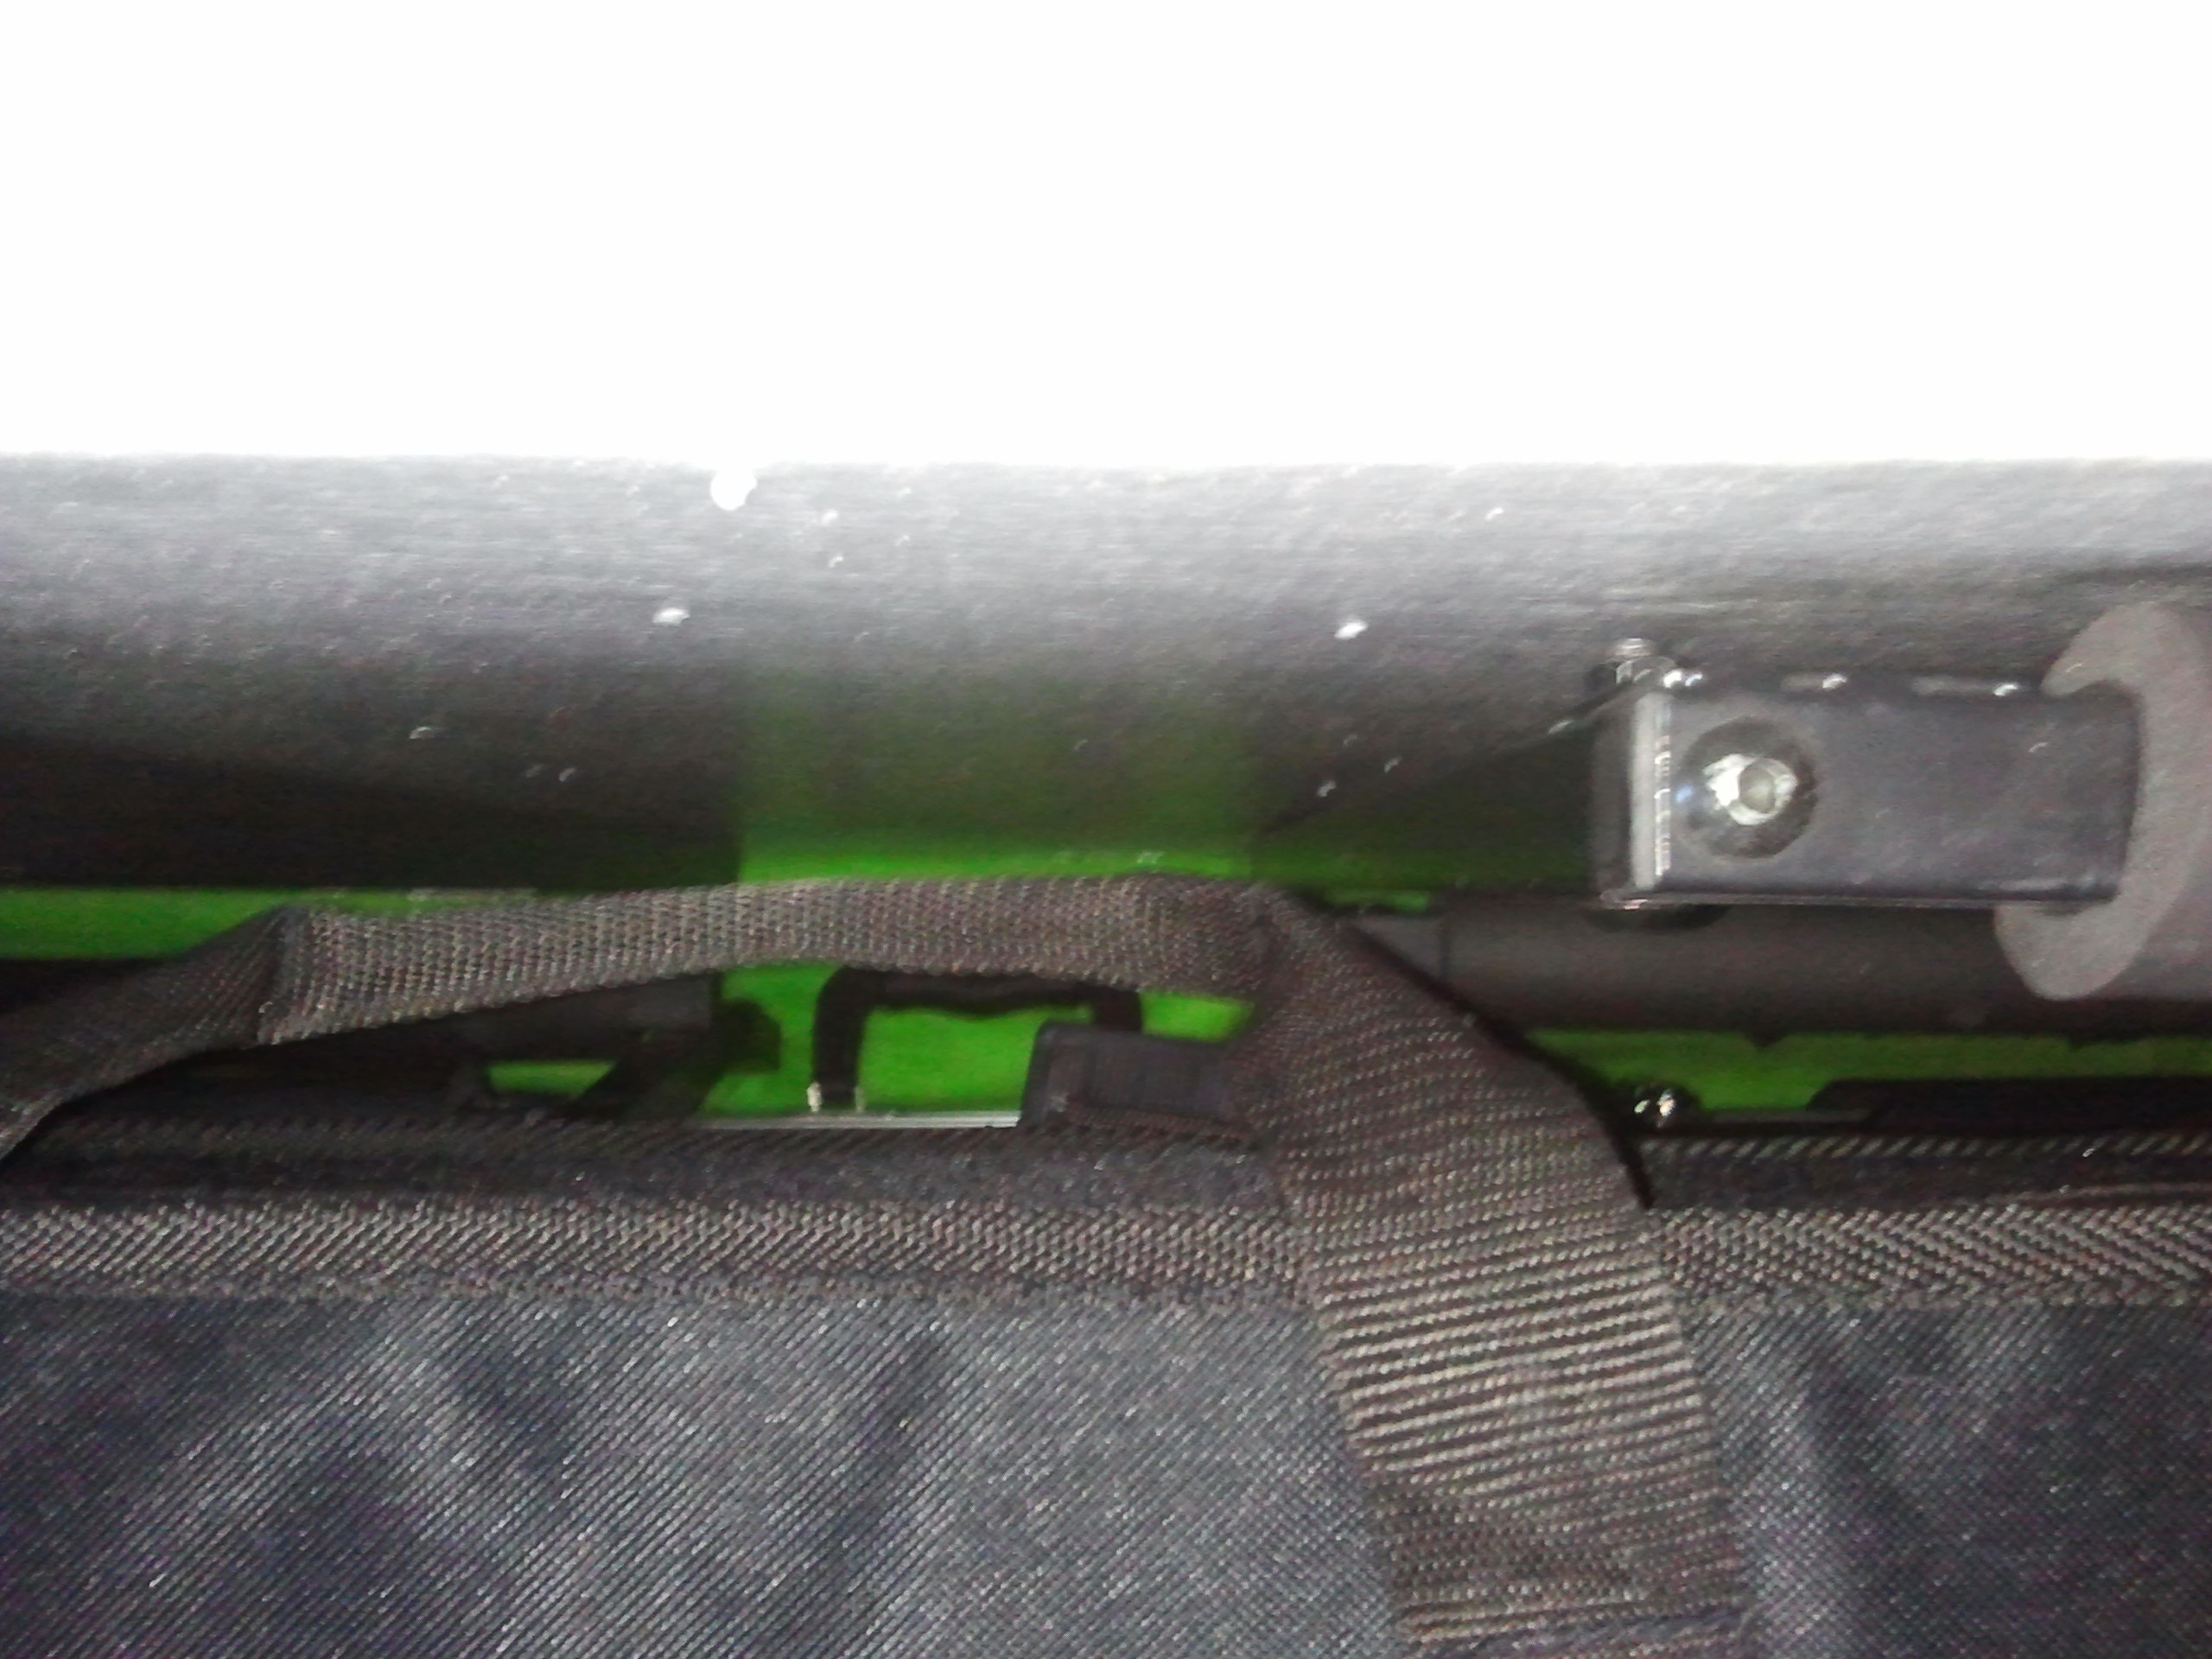
See how the top two strips butt up against the two side strips? This isn’t set in stone. You can attach your strips however you want, but ultimately, you want them to be secure. It’s always good to not only screw the strips into the panel but also get a good long screw through one strip and into another–attaching the ribs together as well as to the panel.
Again, people are going to be hauling this stuff around and they don’t really know or care about the contents inside. You don’t want these things to be pulled off.
A strong structure like this will also be able to support more weight if people decide to stack a bunch of junk on top of your crate. Put as many “Do Not Stack” stickers on it that you won’t, they won’t pay any attention to it.

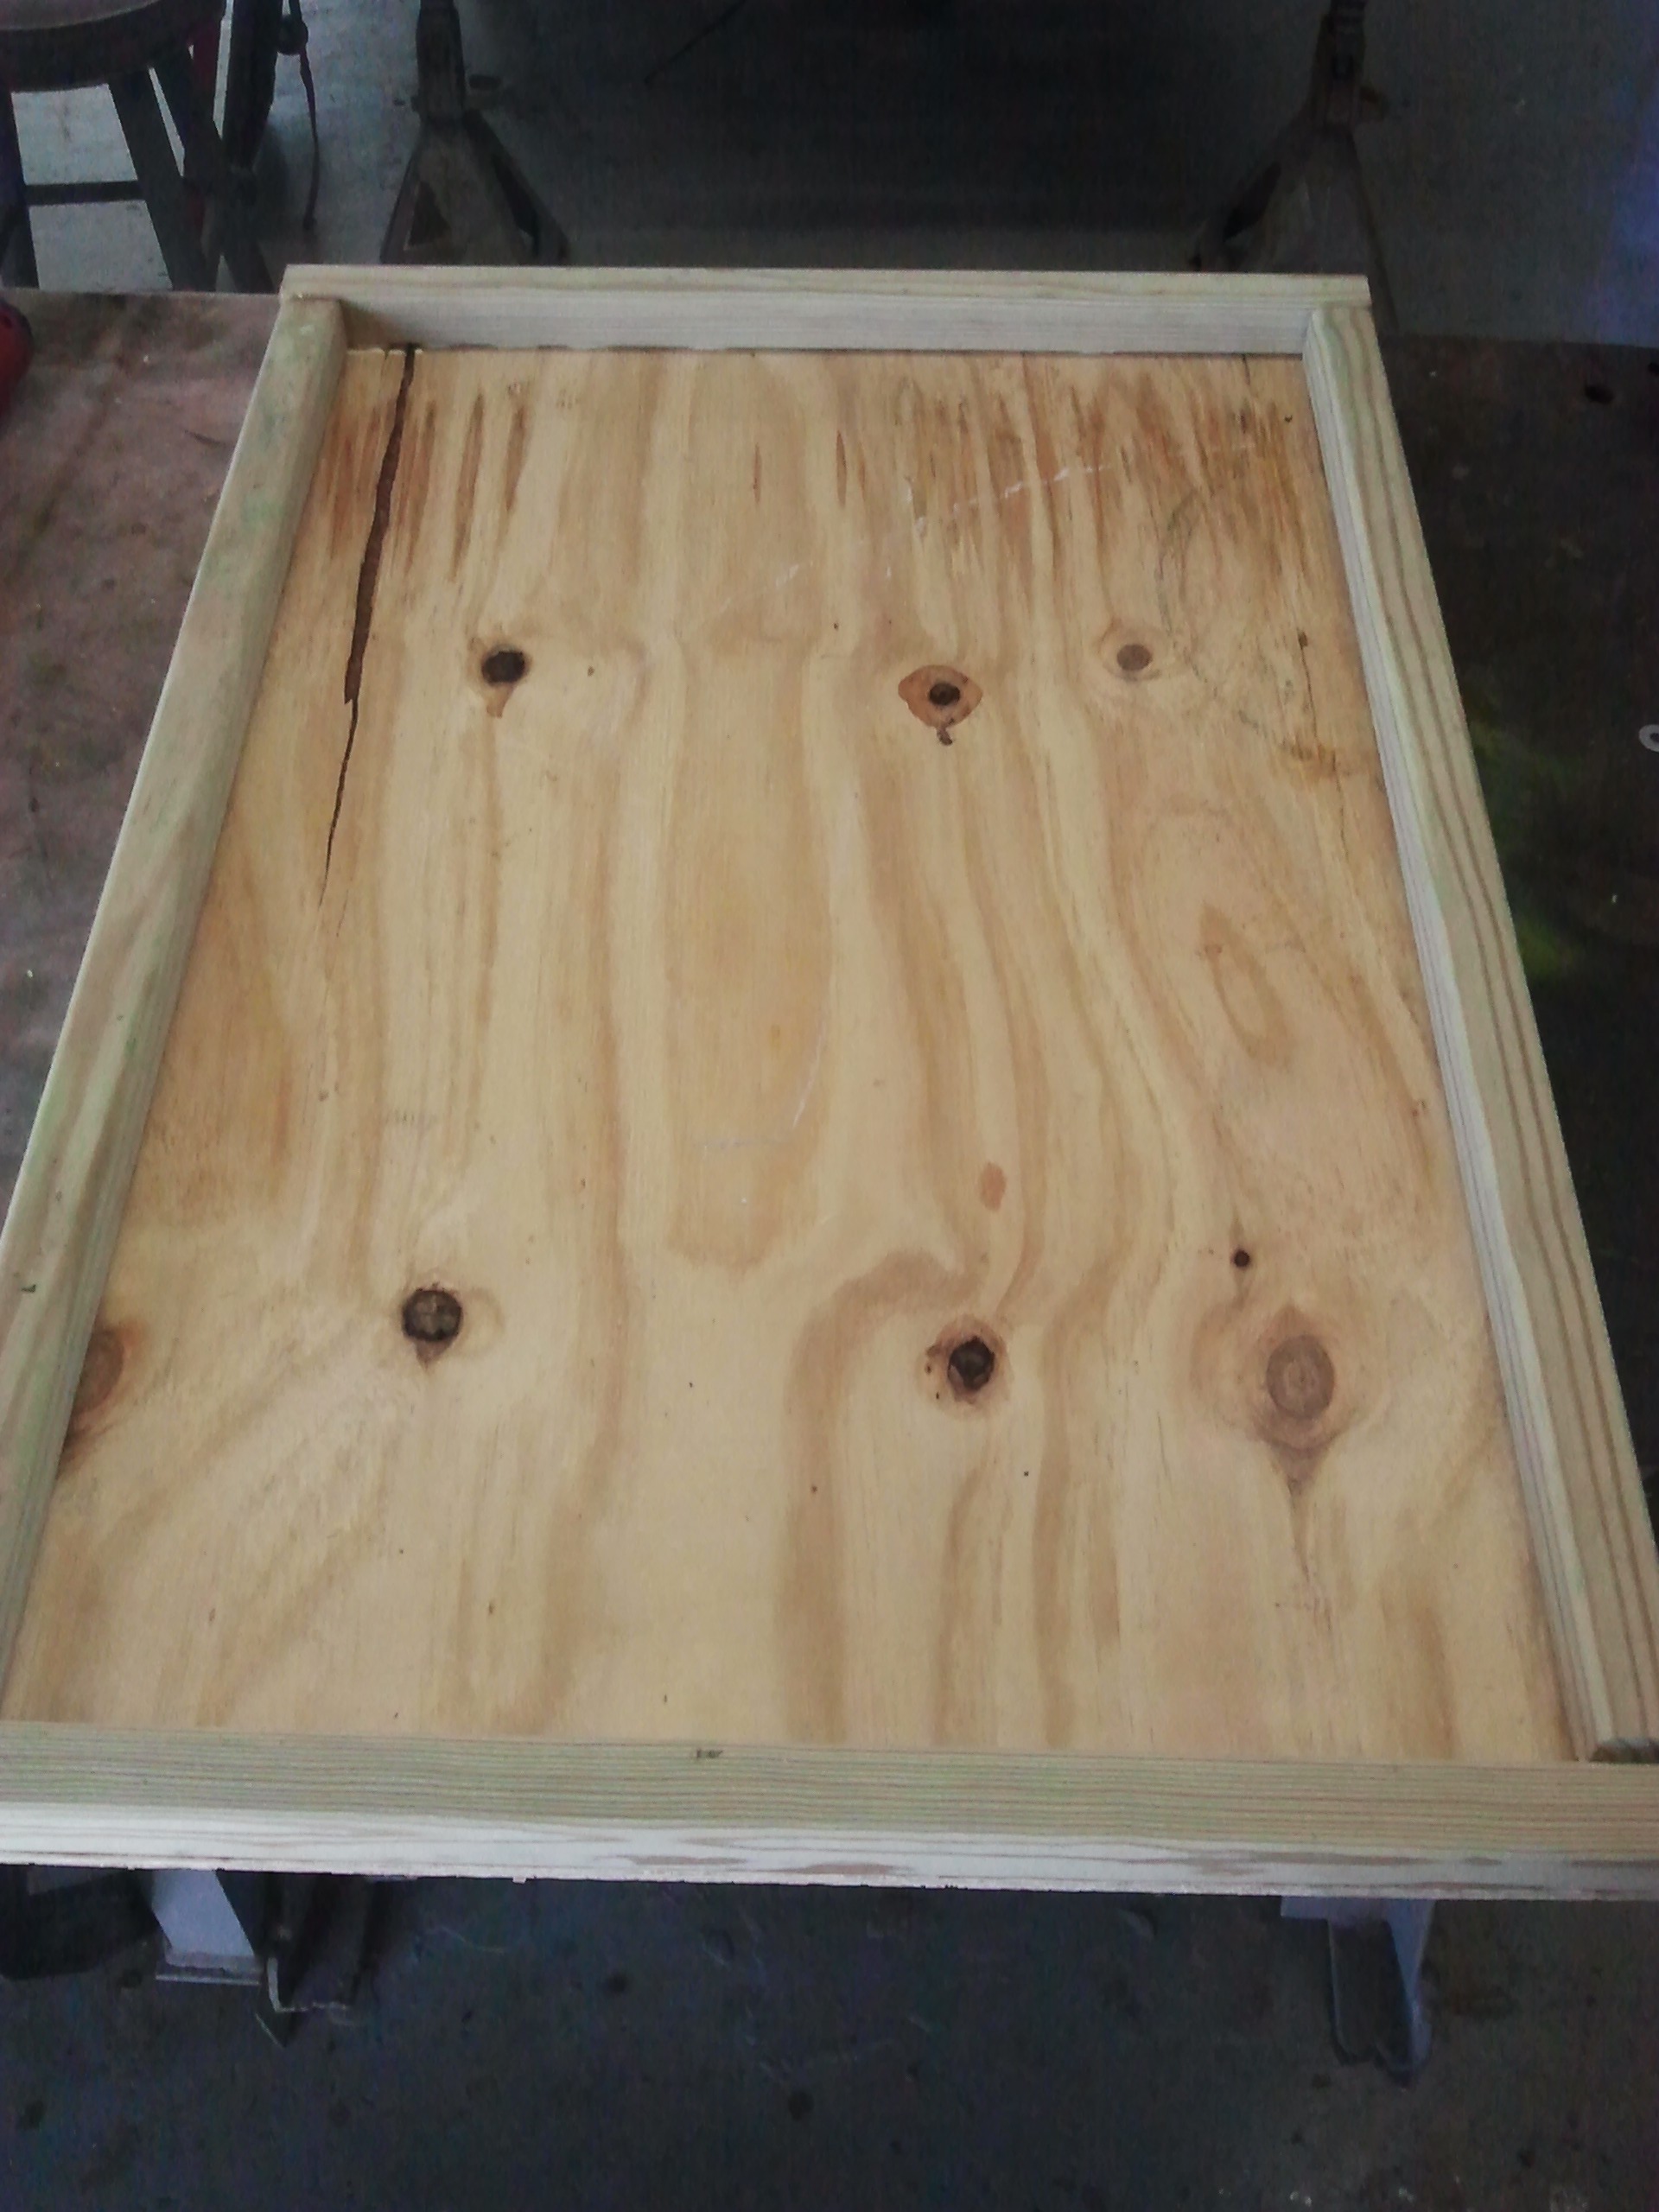
Step 5: Now do the same thing for the end pieces.
For me, I made a rib structure like this for all the panels except the bottom. If you’re going to build up the base of your crate for a pallet jack, you’re going to want the base to be flat so the pallet jack tongs won’t accidentally slip and go through the base.
.
 From the picture here you’ll see how the ribbing is attached to each other. In my photograph you can see how the two end pieces are attached to the top/base panel.
If you can zoom in you’ll see that the top panel is attached to the two end panels. If I could go back and do this again I’d make that panel a bit different. What’s shown in the picture is actually the long base panel and I later attached to larger skids to it so a pallet jack could get underneath. Not a big deal but if I knew then what I know now then I would’ve made it a bit different.

Step 6: Now let’s start to assemble, shall we?
Pretty simple actually.
You start off with the base piece and attach your two end pieces. Don’t forget to use some wood glue to make a good seal and then screw them together.
Attach your two end pieces first then you can move on to the side panels.

Of course, you want the box to be flush at all connections.
Your lumber cuts should accommodate for the panel and ribs. So, make sure you know how thick your plywood is going to be and how thick your ribs are going to be. Plywood comes in all shapes, sizes, and thickness so this is up to you.
Also, when calculating the internal dimensions, keep in mind that you may want to add an additional layer of styrofoam lining. Again, these come in different shapes and thickness so decide what will work best for what you’re packing and add that into your dimensional plan.

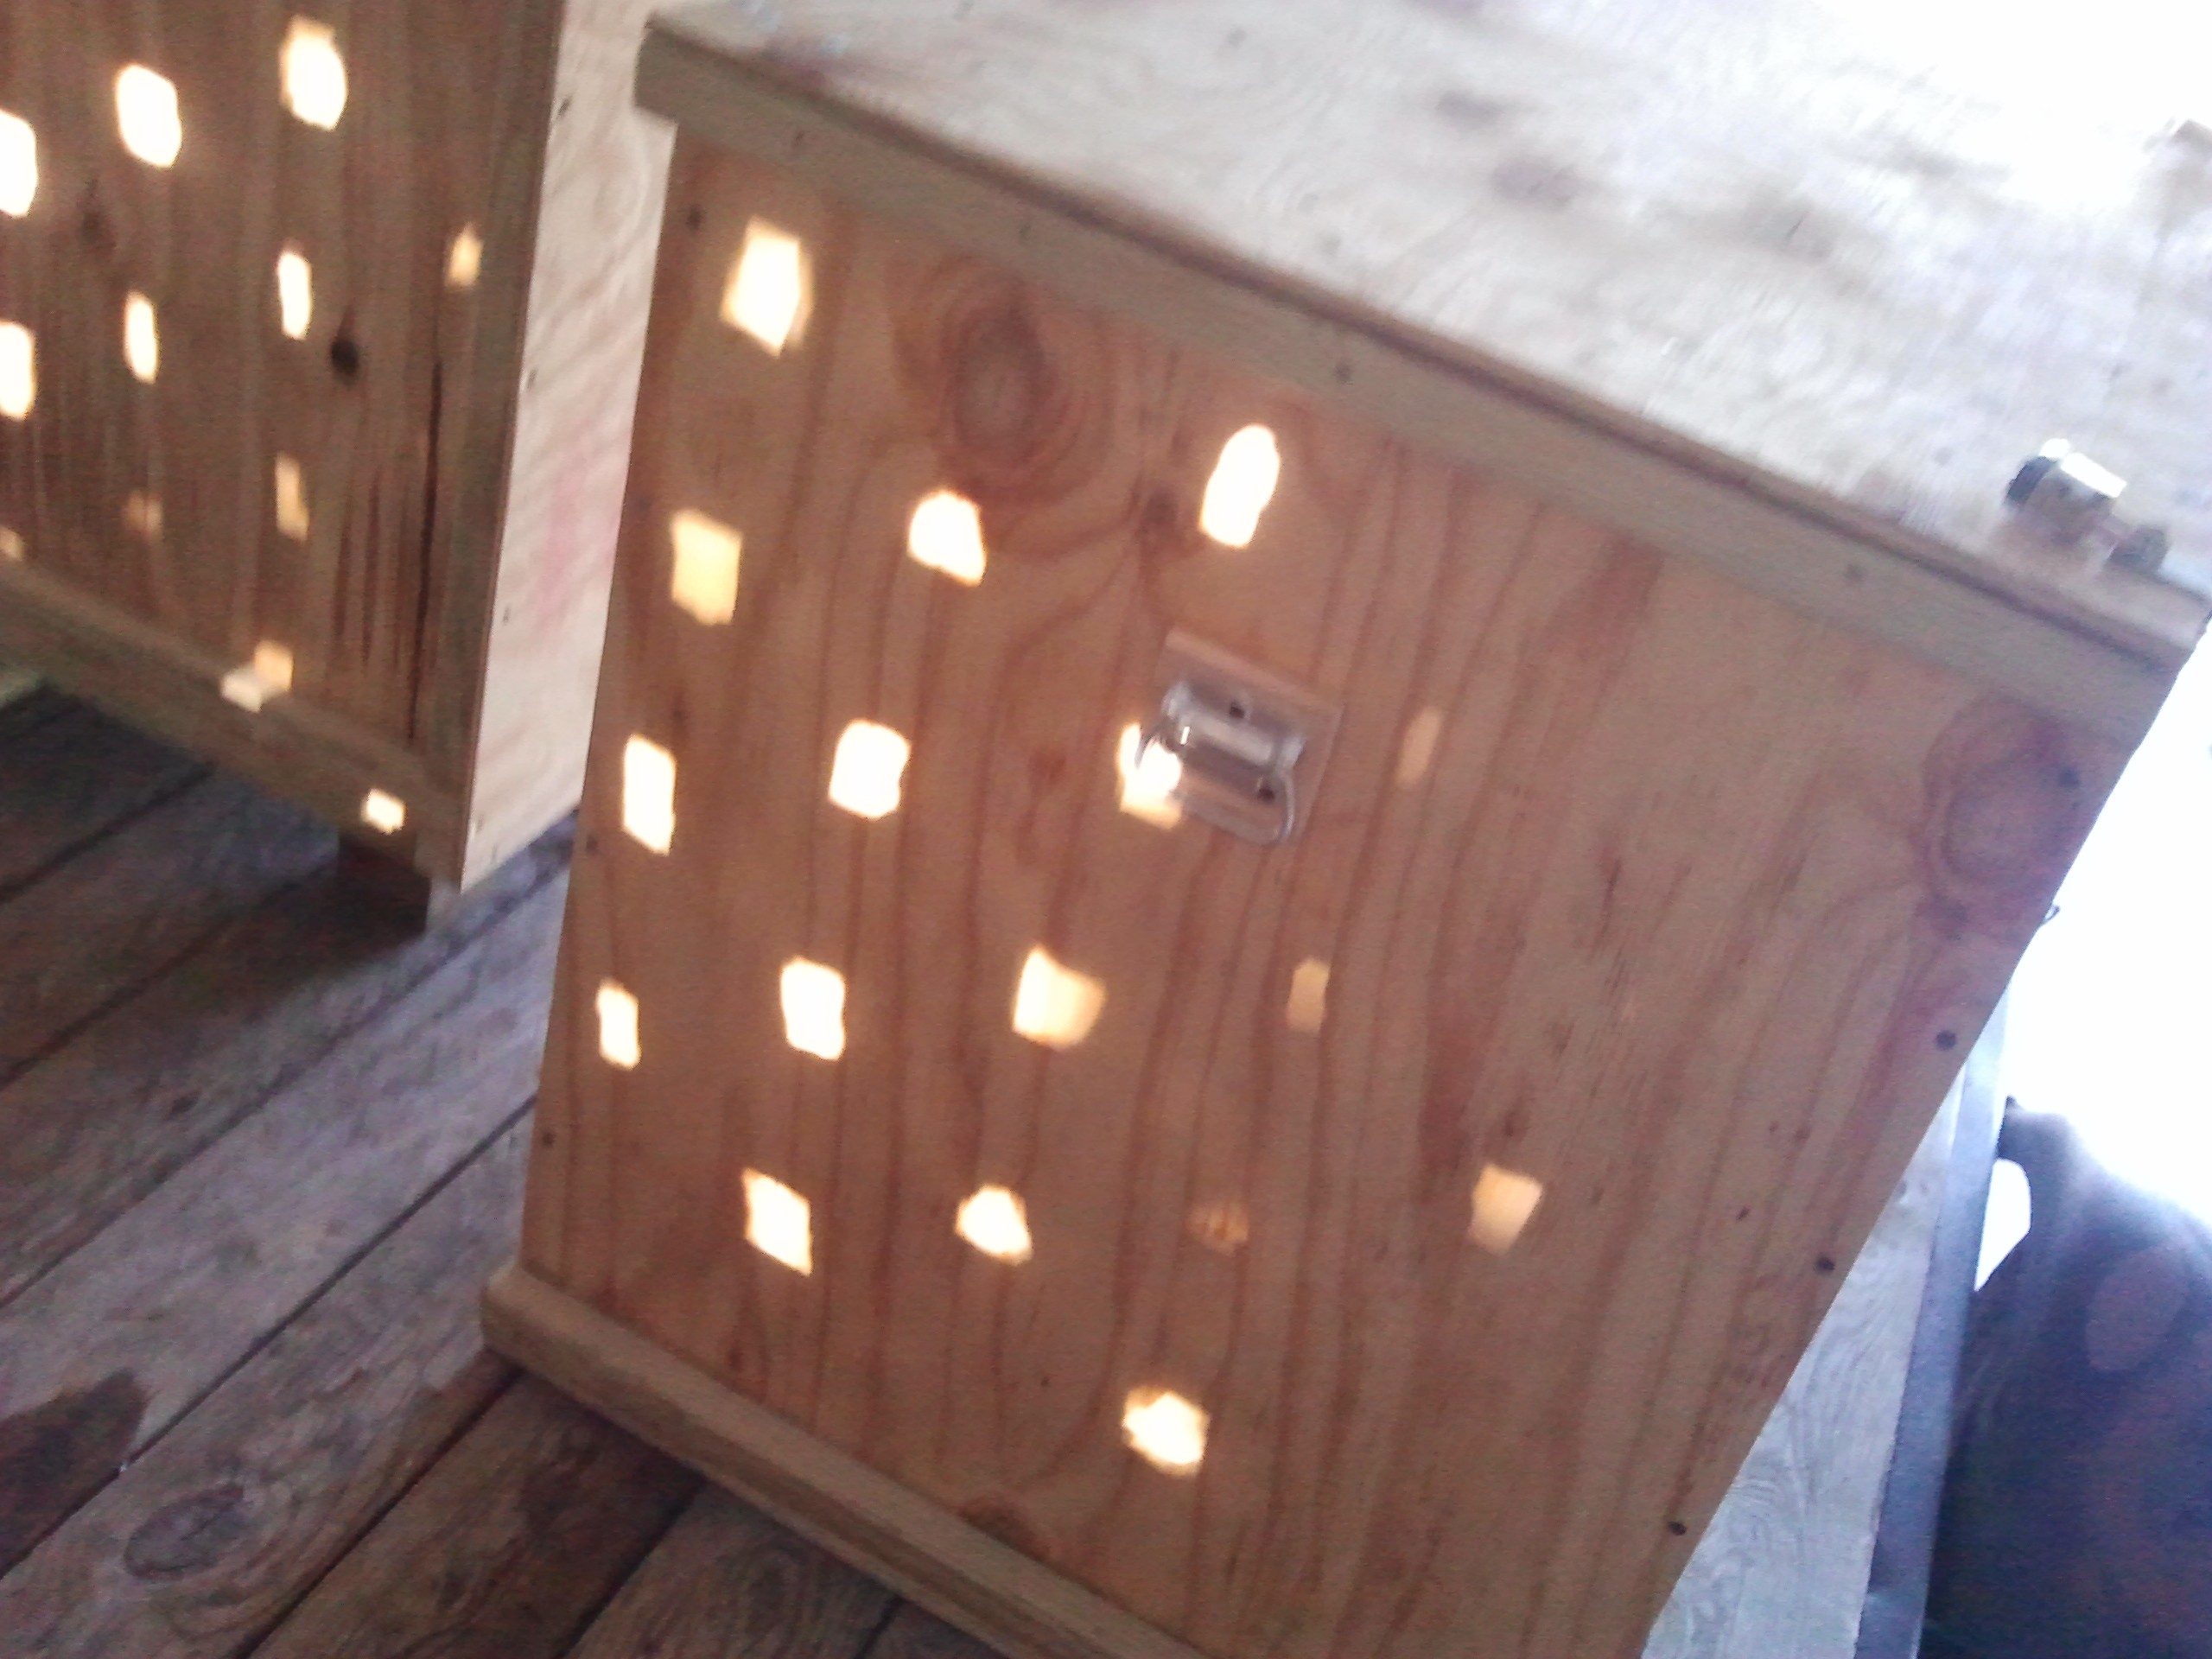
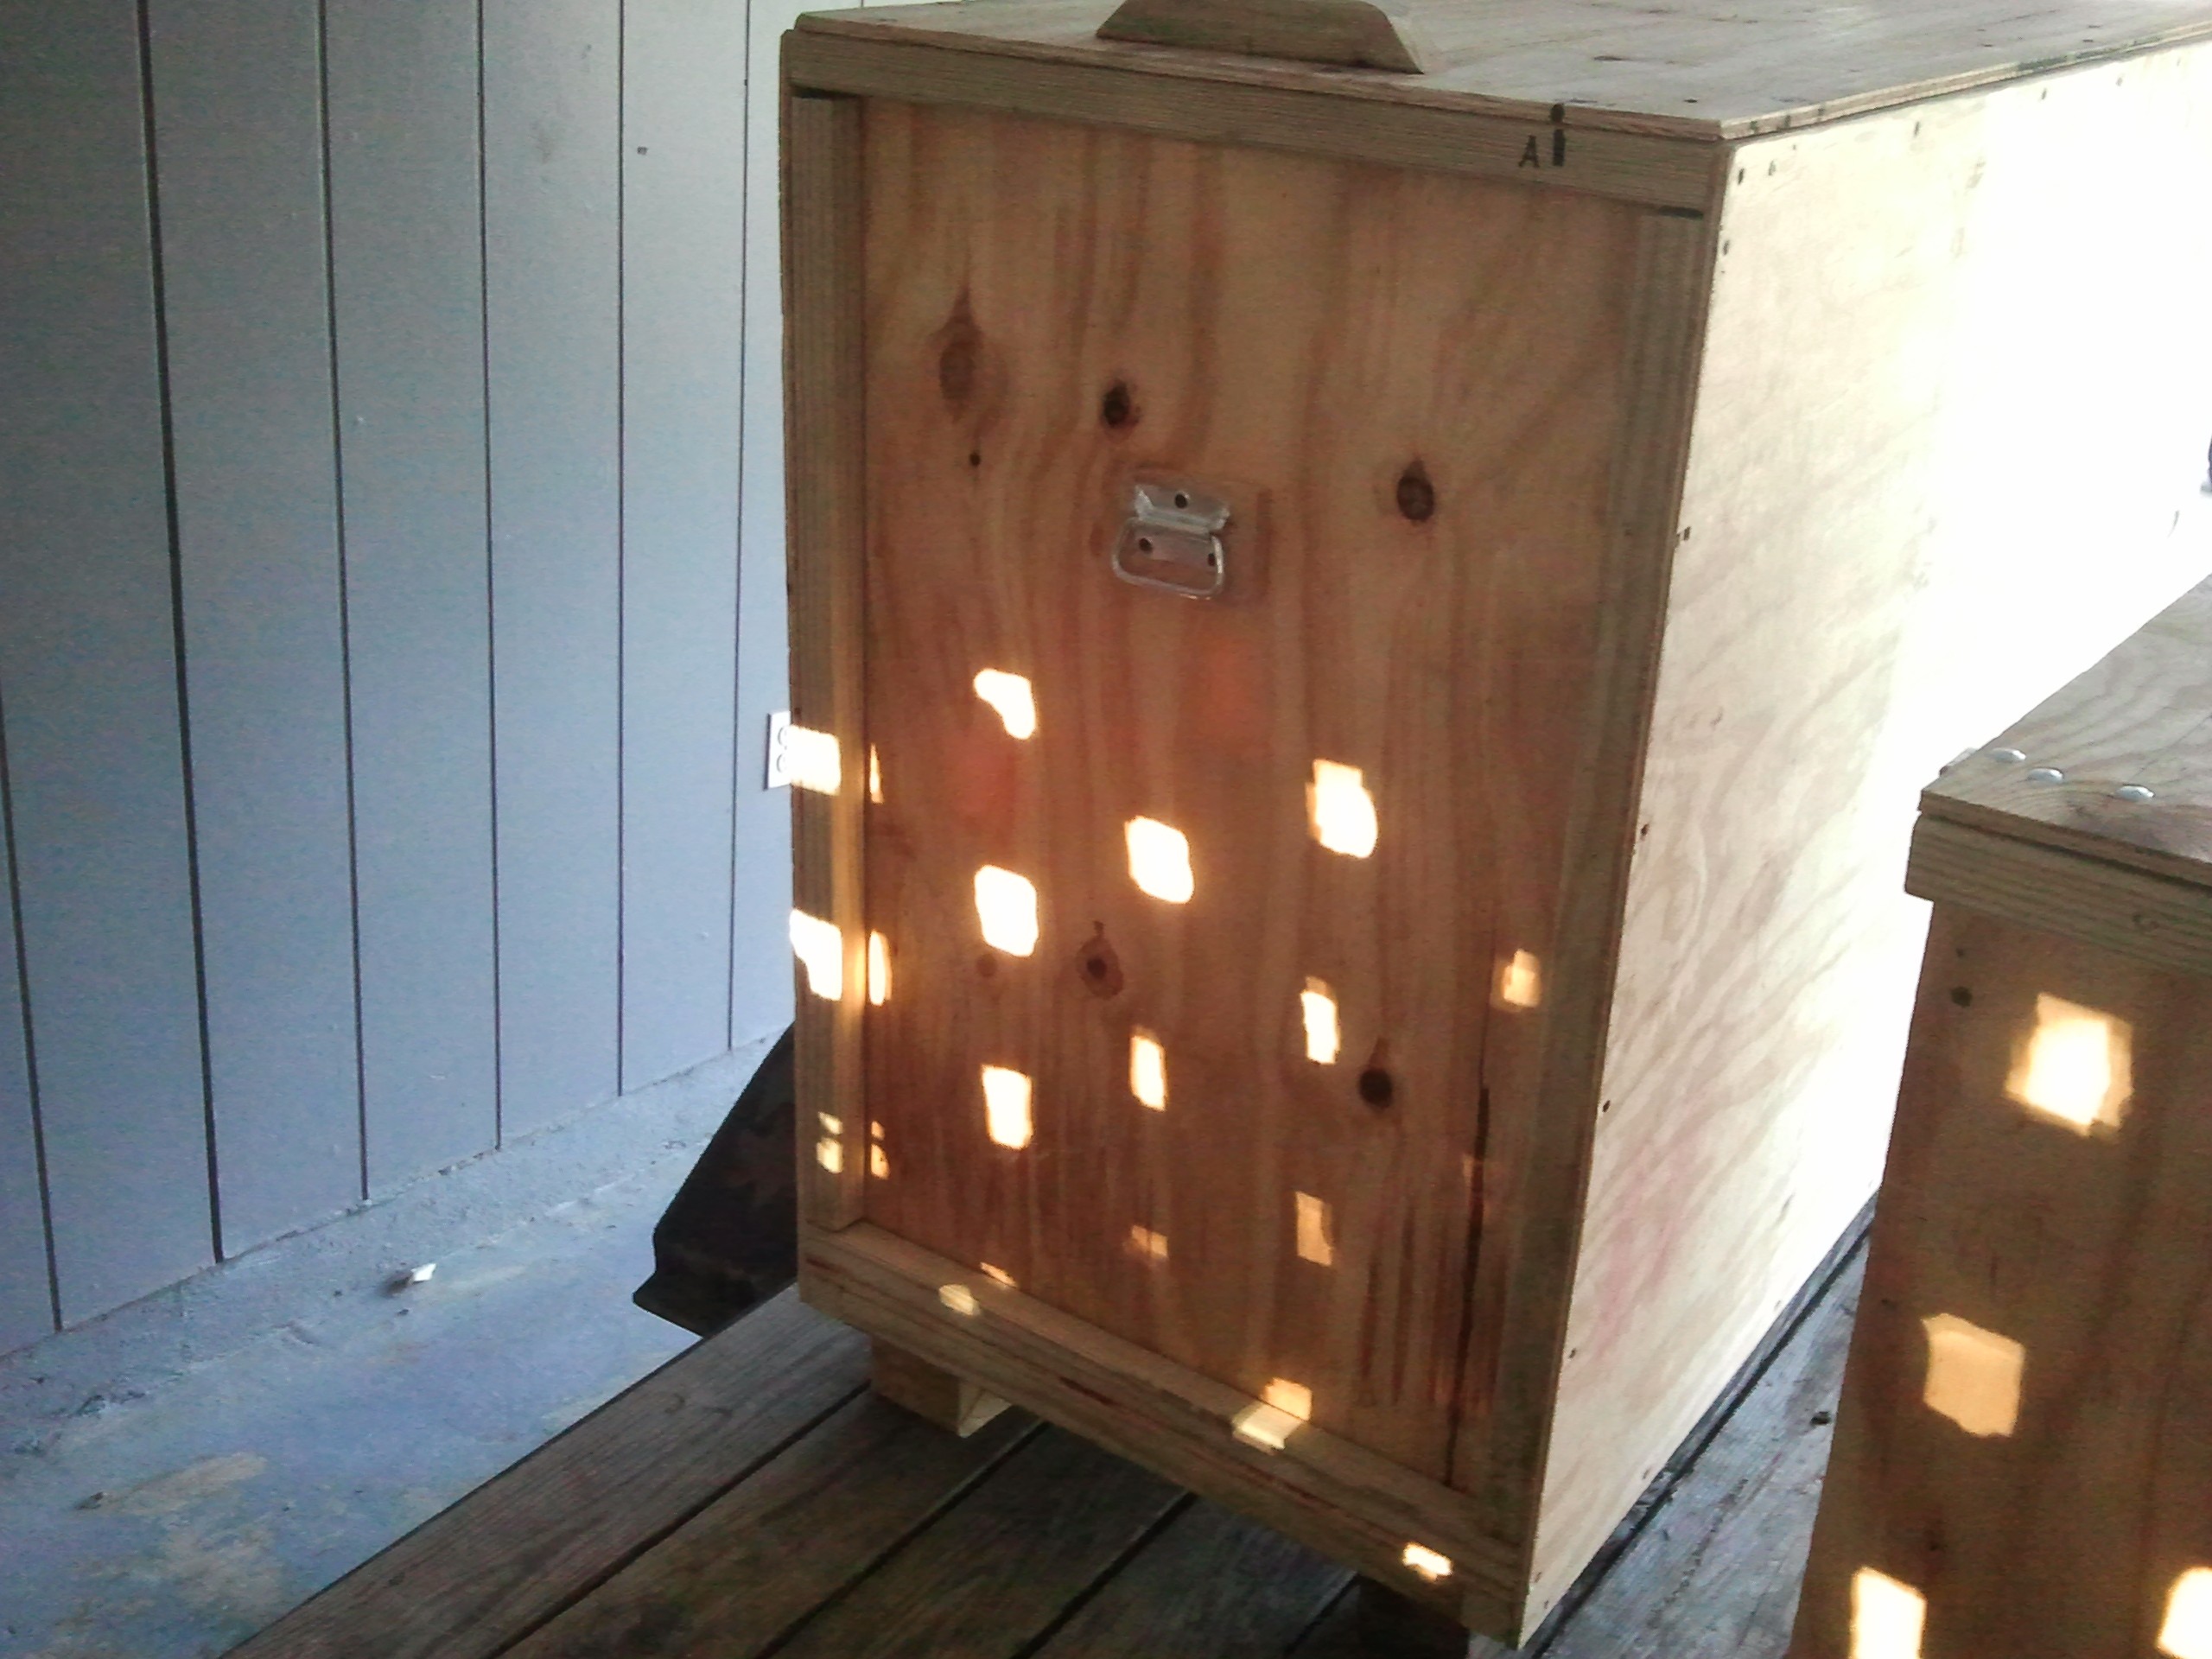
Now let’s put all the panels together. When you’re done you should have something that looks like this. Notice how the edges fit together and how those panels are attached to one another.
This can be a very time consuming process, especially if you’ve never done it before.
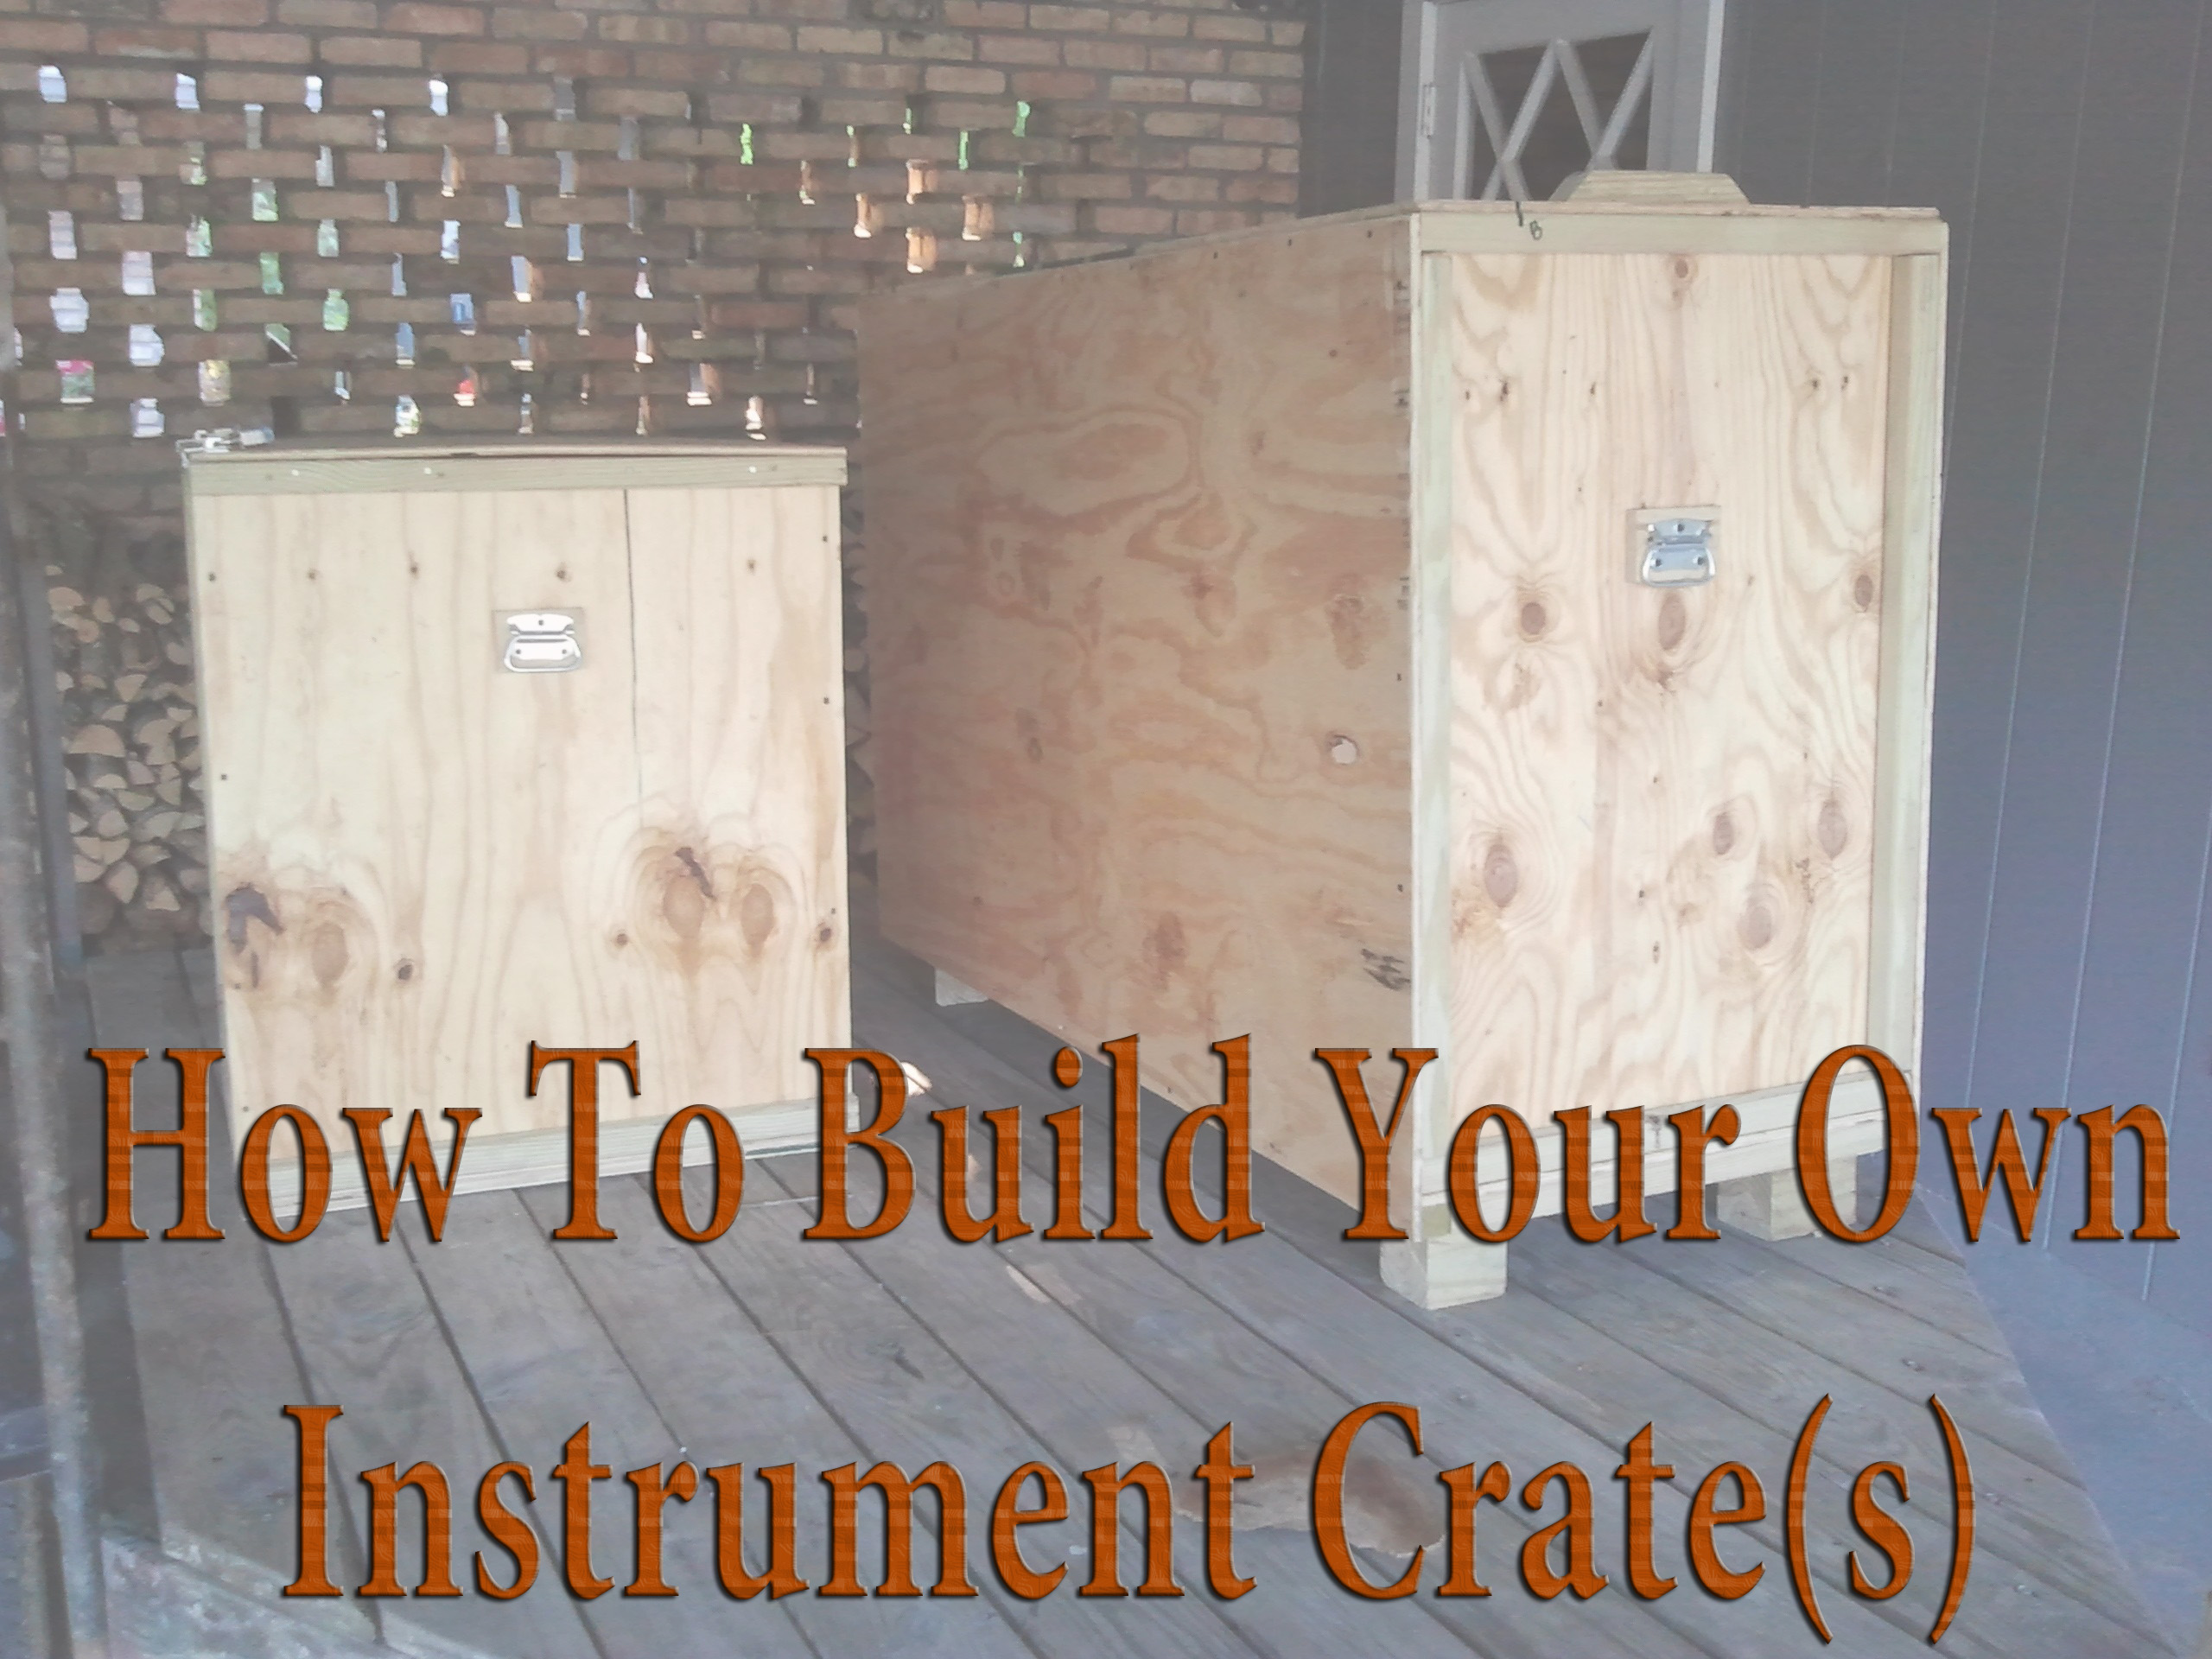
It actually took me the better part of a day to build two crates from scratch with my father helping me out. But when we were finished we had it looking like this:


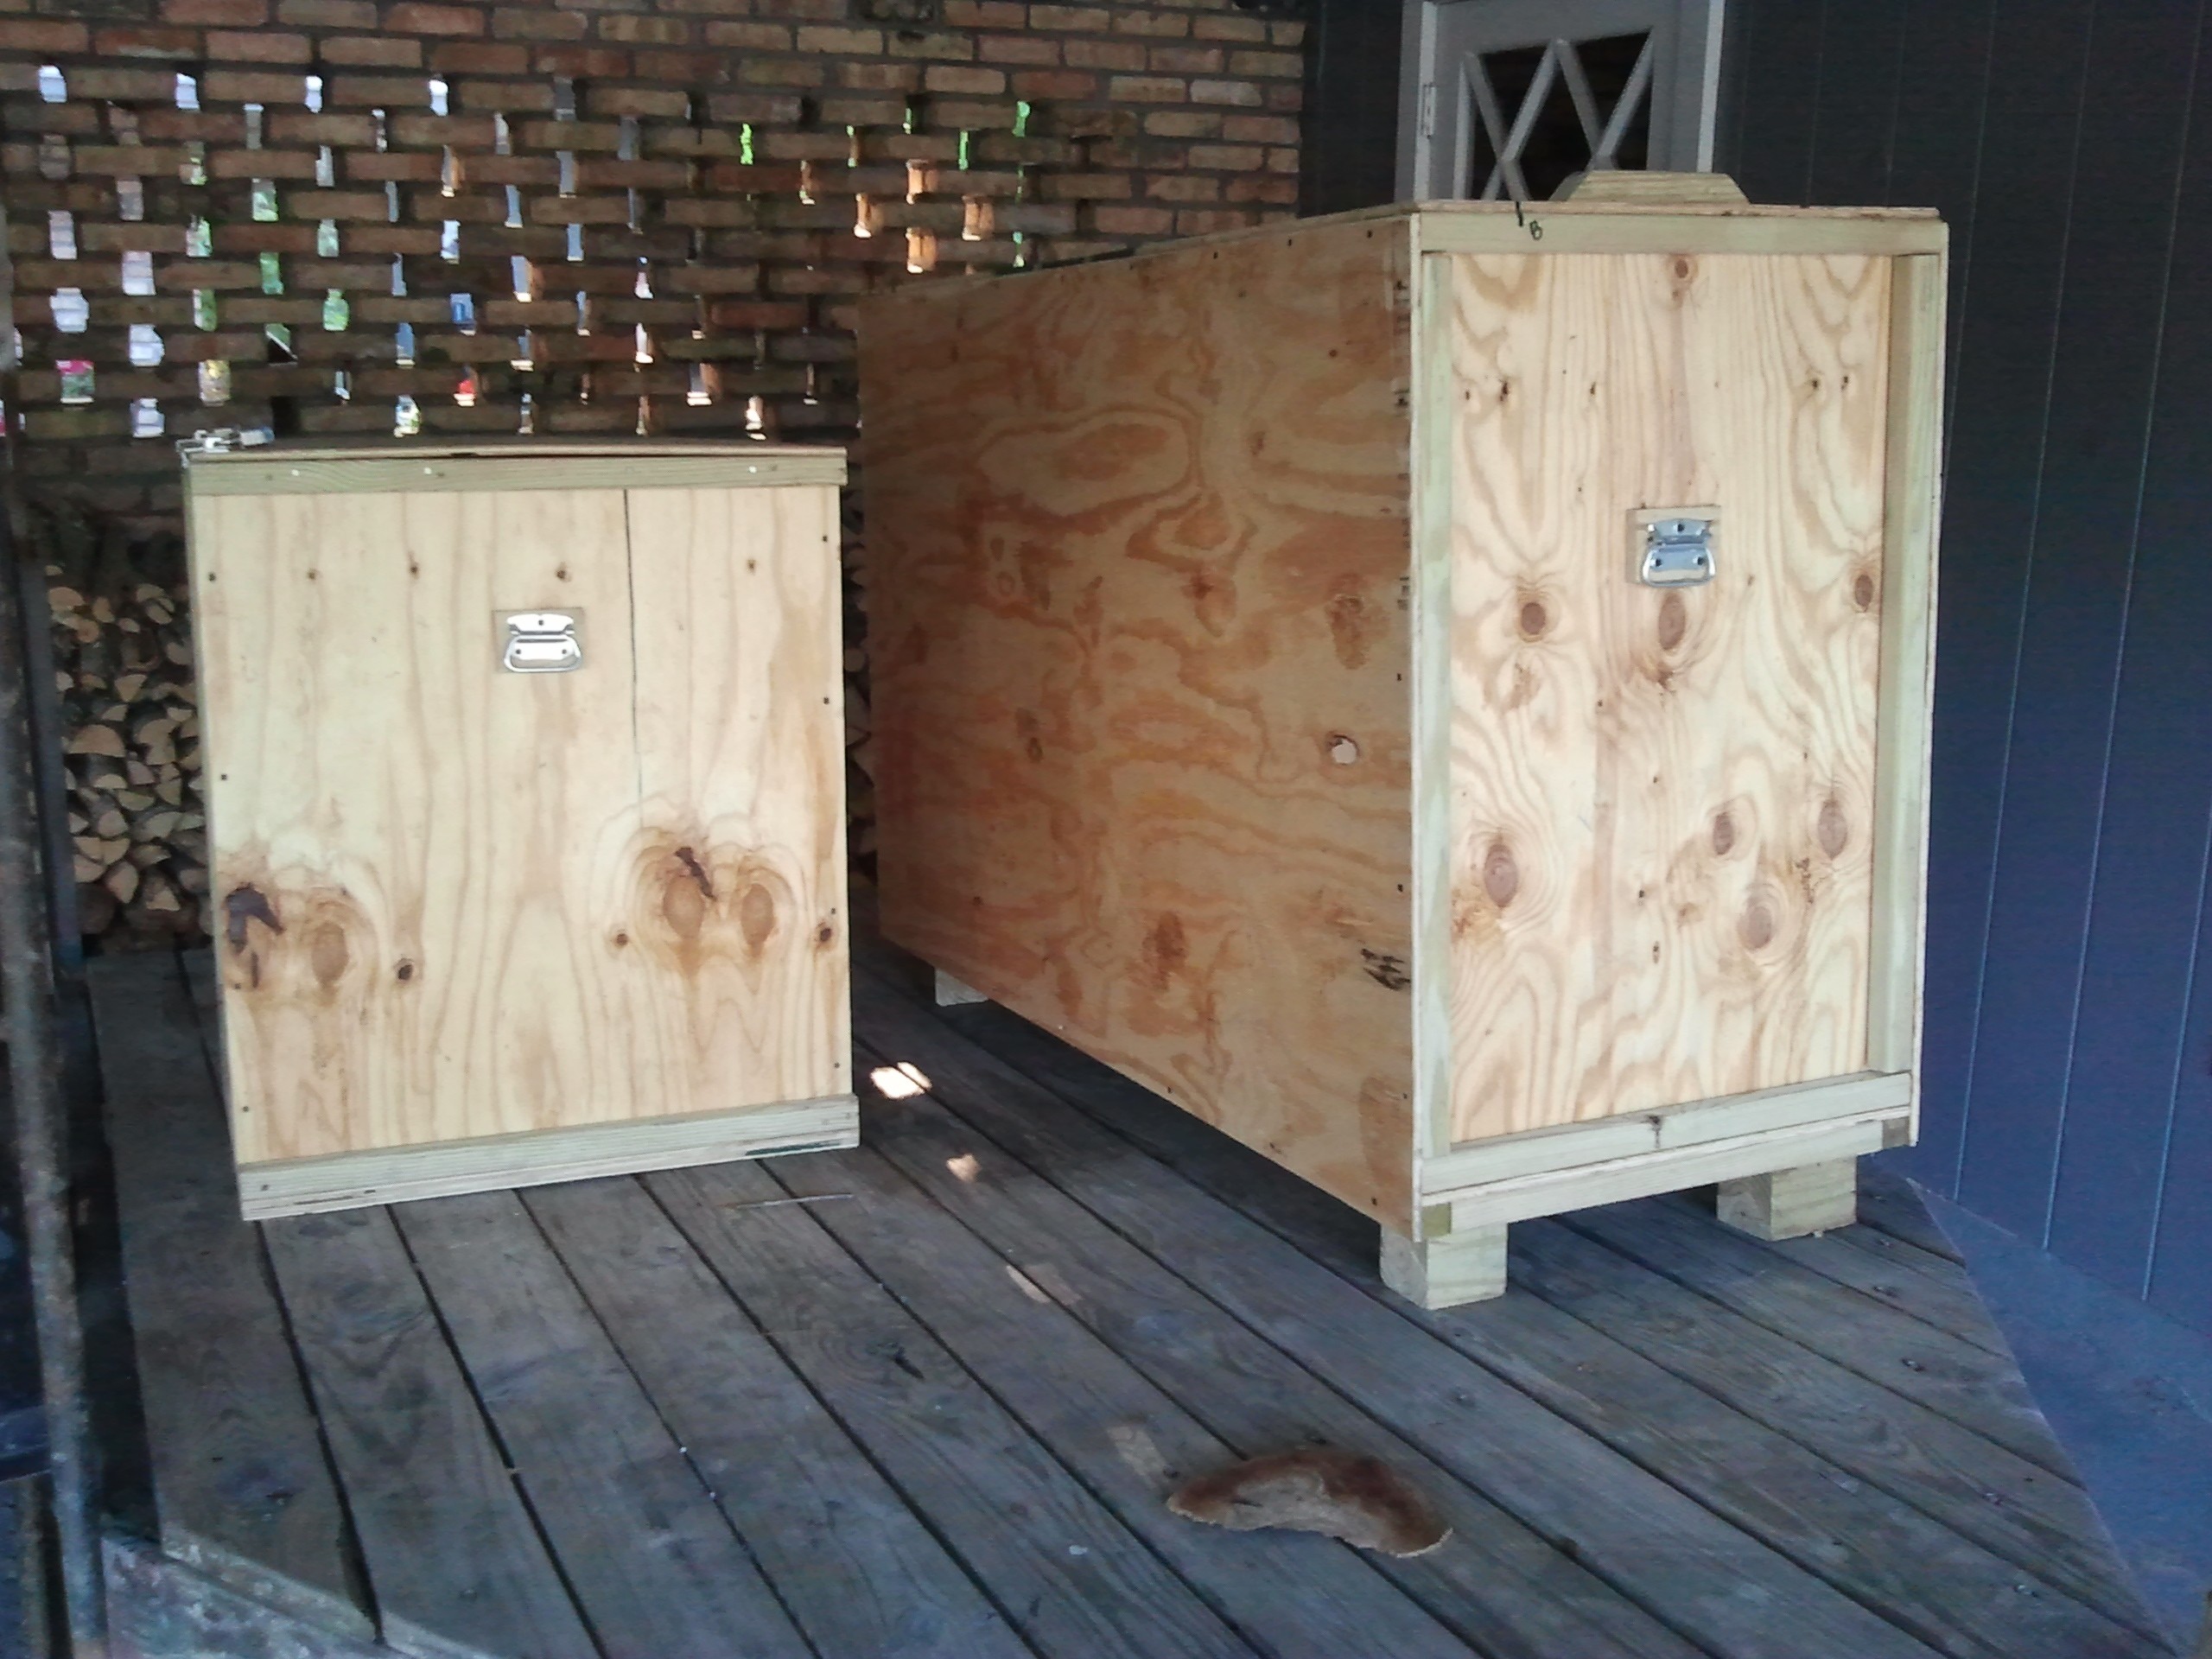 I hope you found this to be informative. All my stuff got to and from Mexico in fine condition. The only thing I’d like to add is that packing blankets can be a bit costly, too. One way to get a cheap packing blanket is to go to any fabric supply company and buy a bunch of Felt fabric. Just buy feet and feet and feet of it. It’s rather cheap and it’ll work great for padding.